Getting Started
Step 1: Download the model
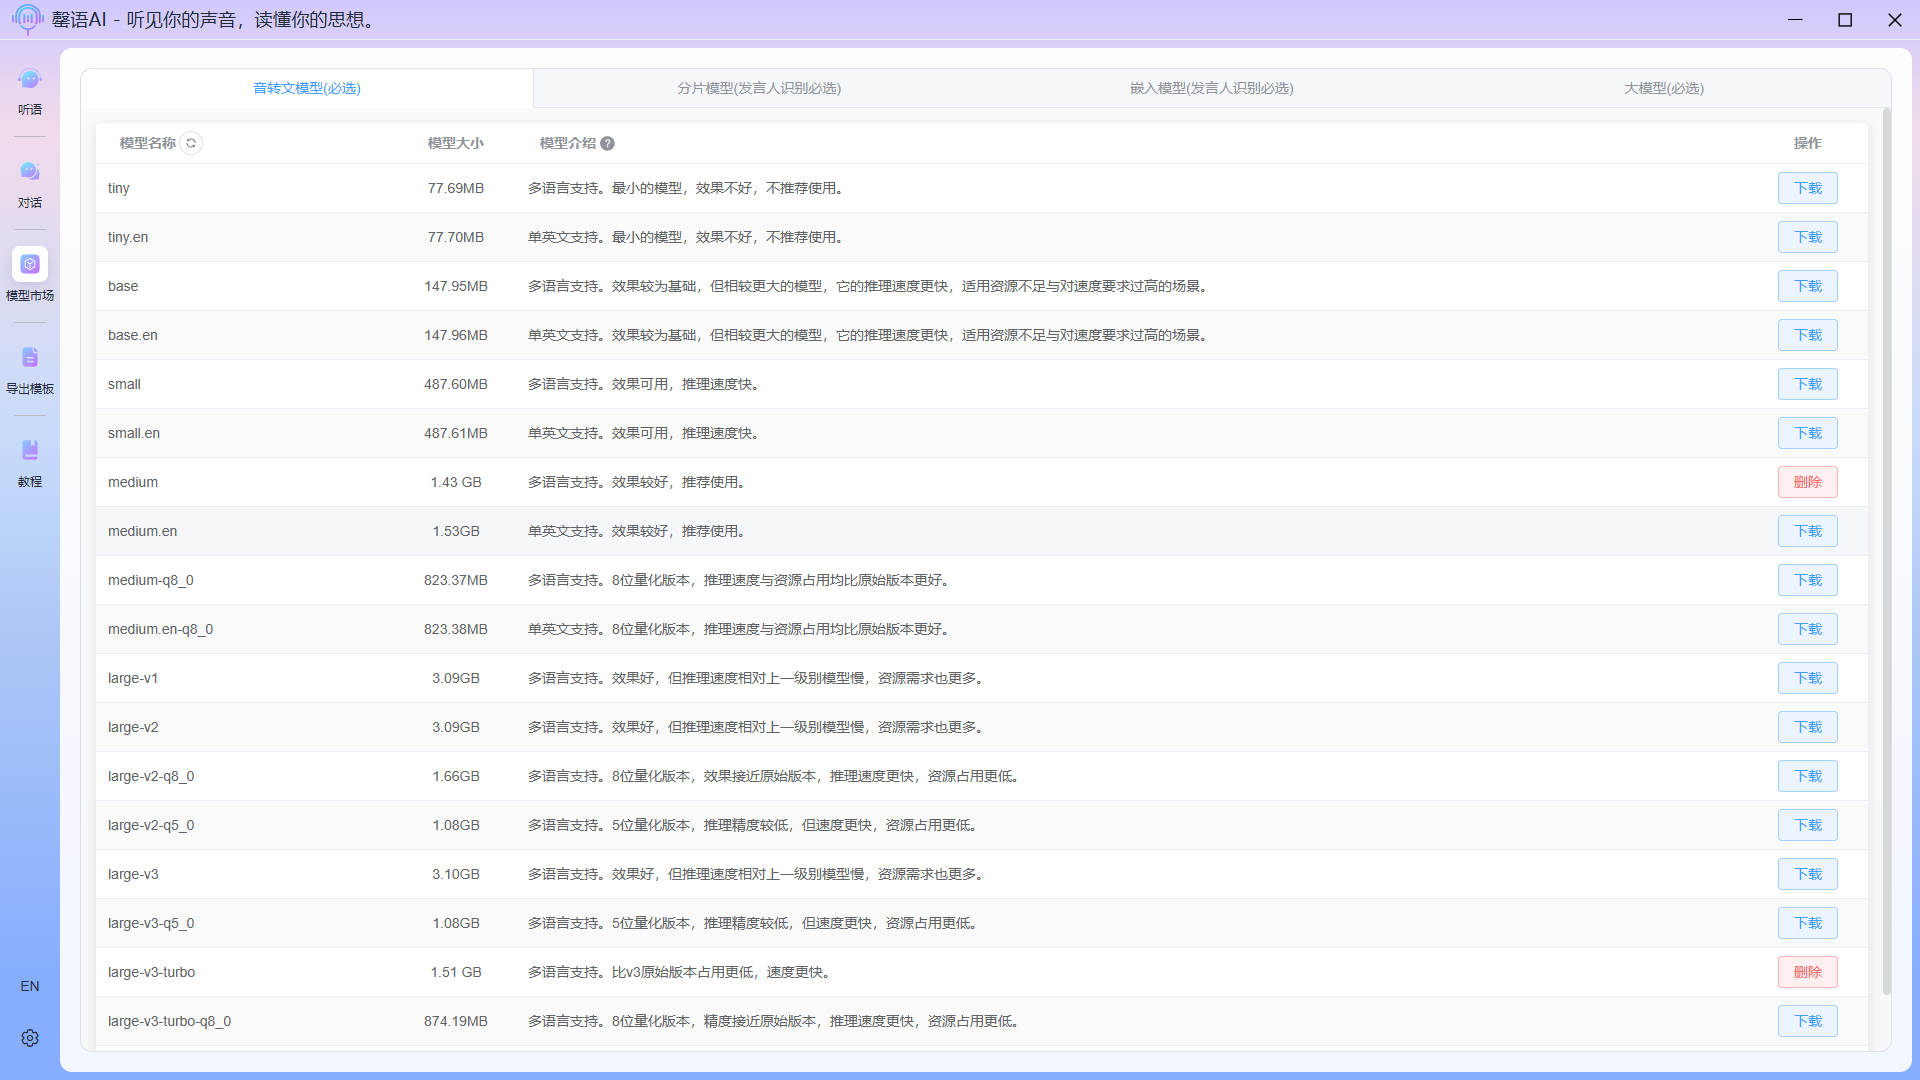
Enter the model market to download the required models.
1.1 Download the speech-to-text model
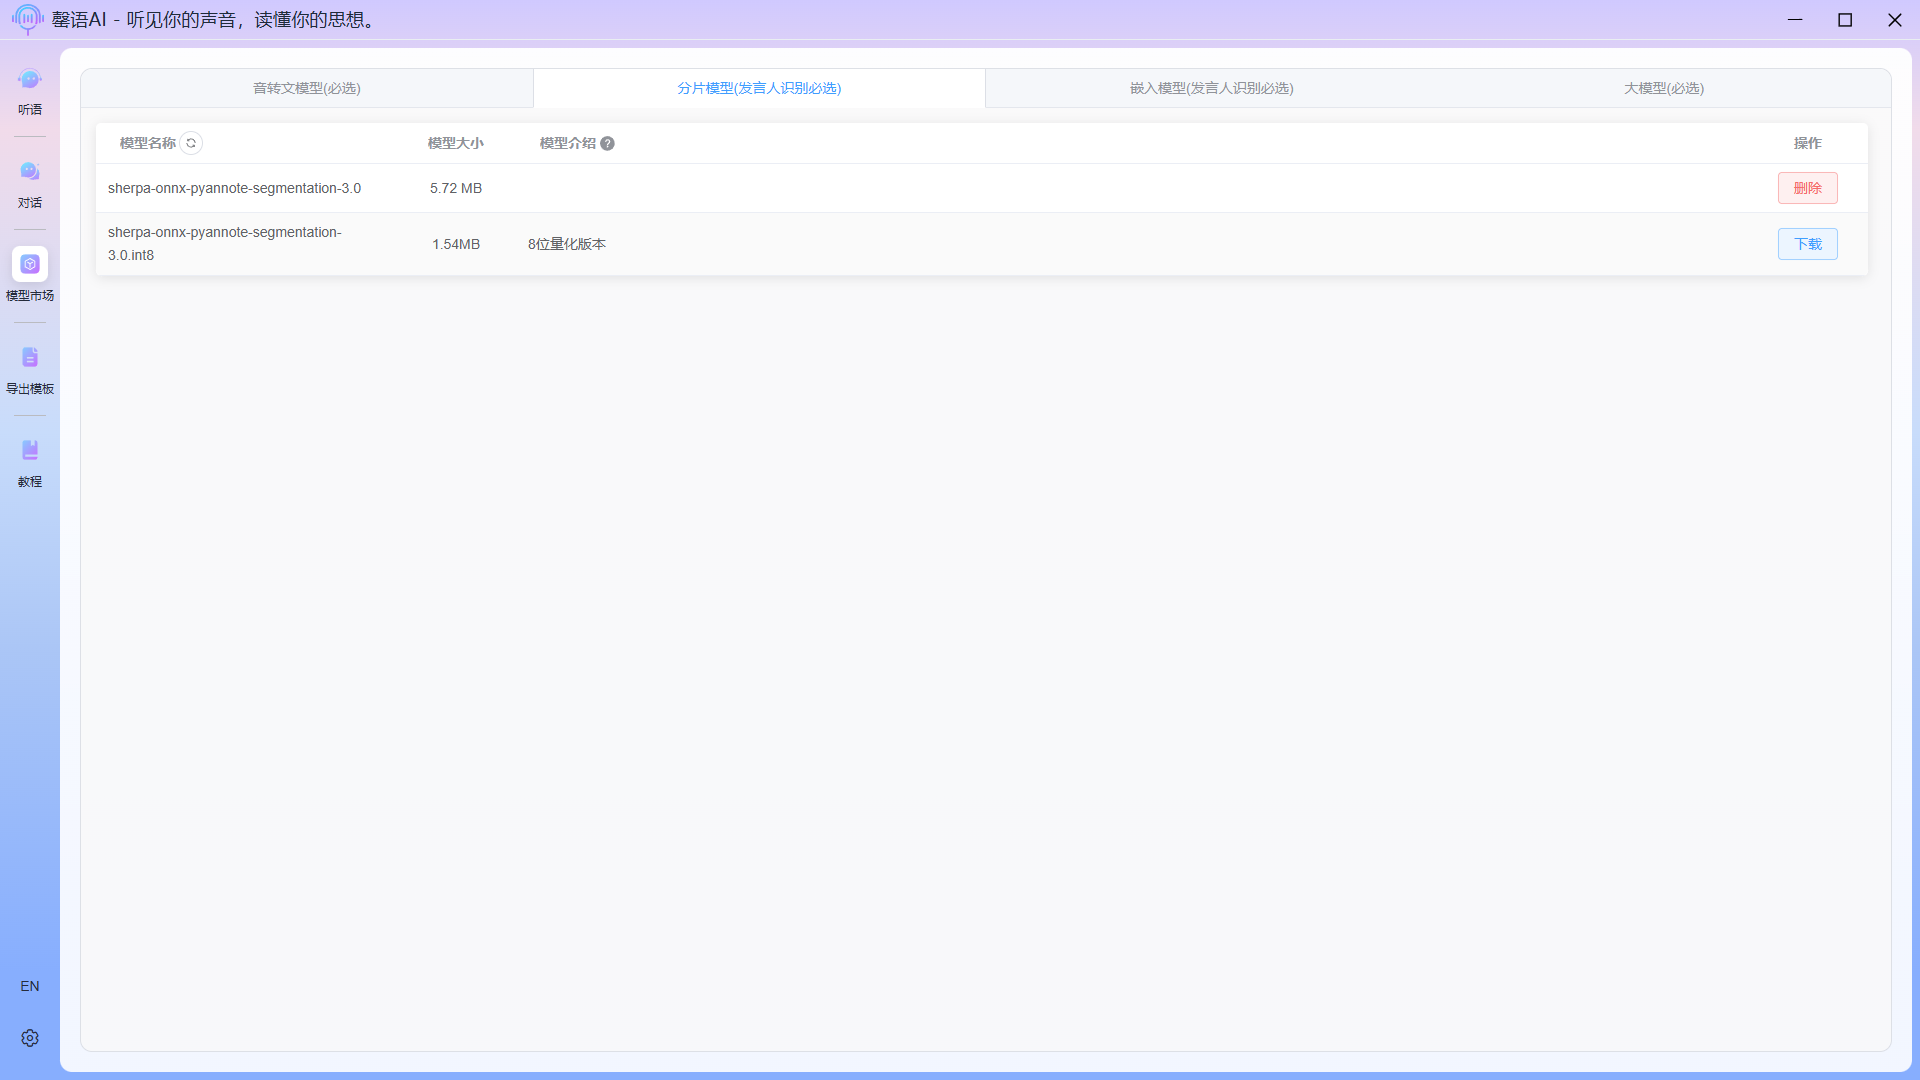
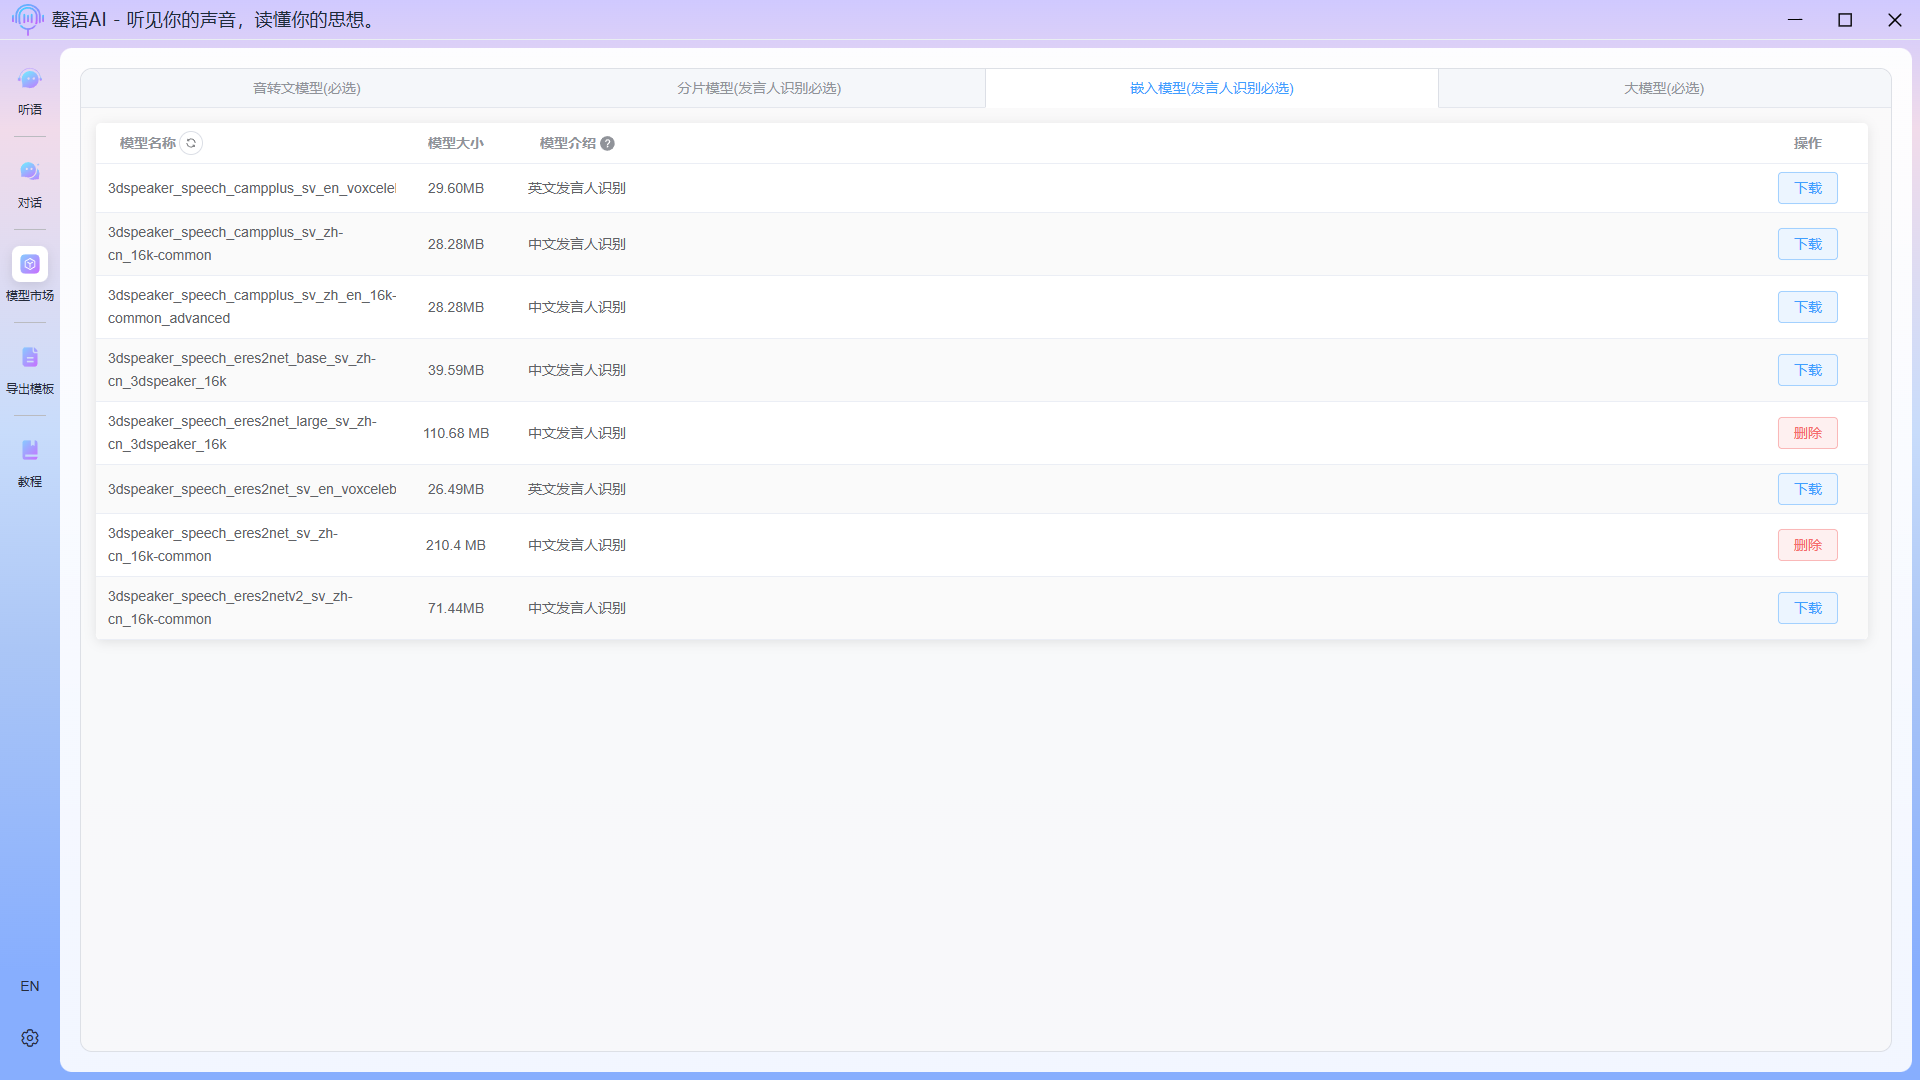
1.2 Download spokesperson recognition models (segment models, embedded models)
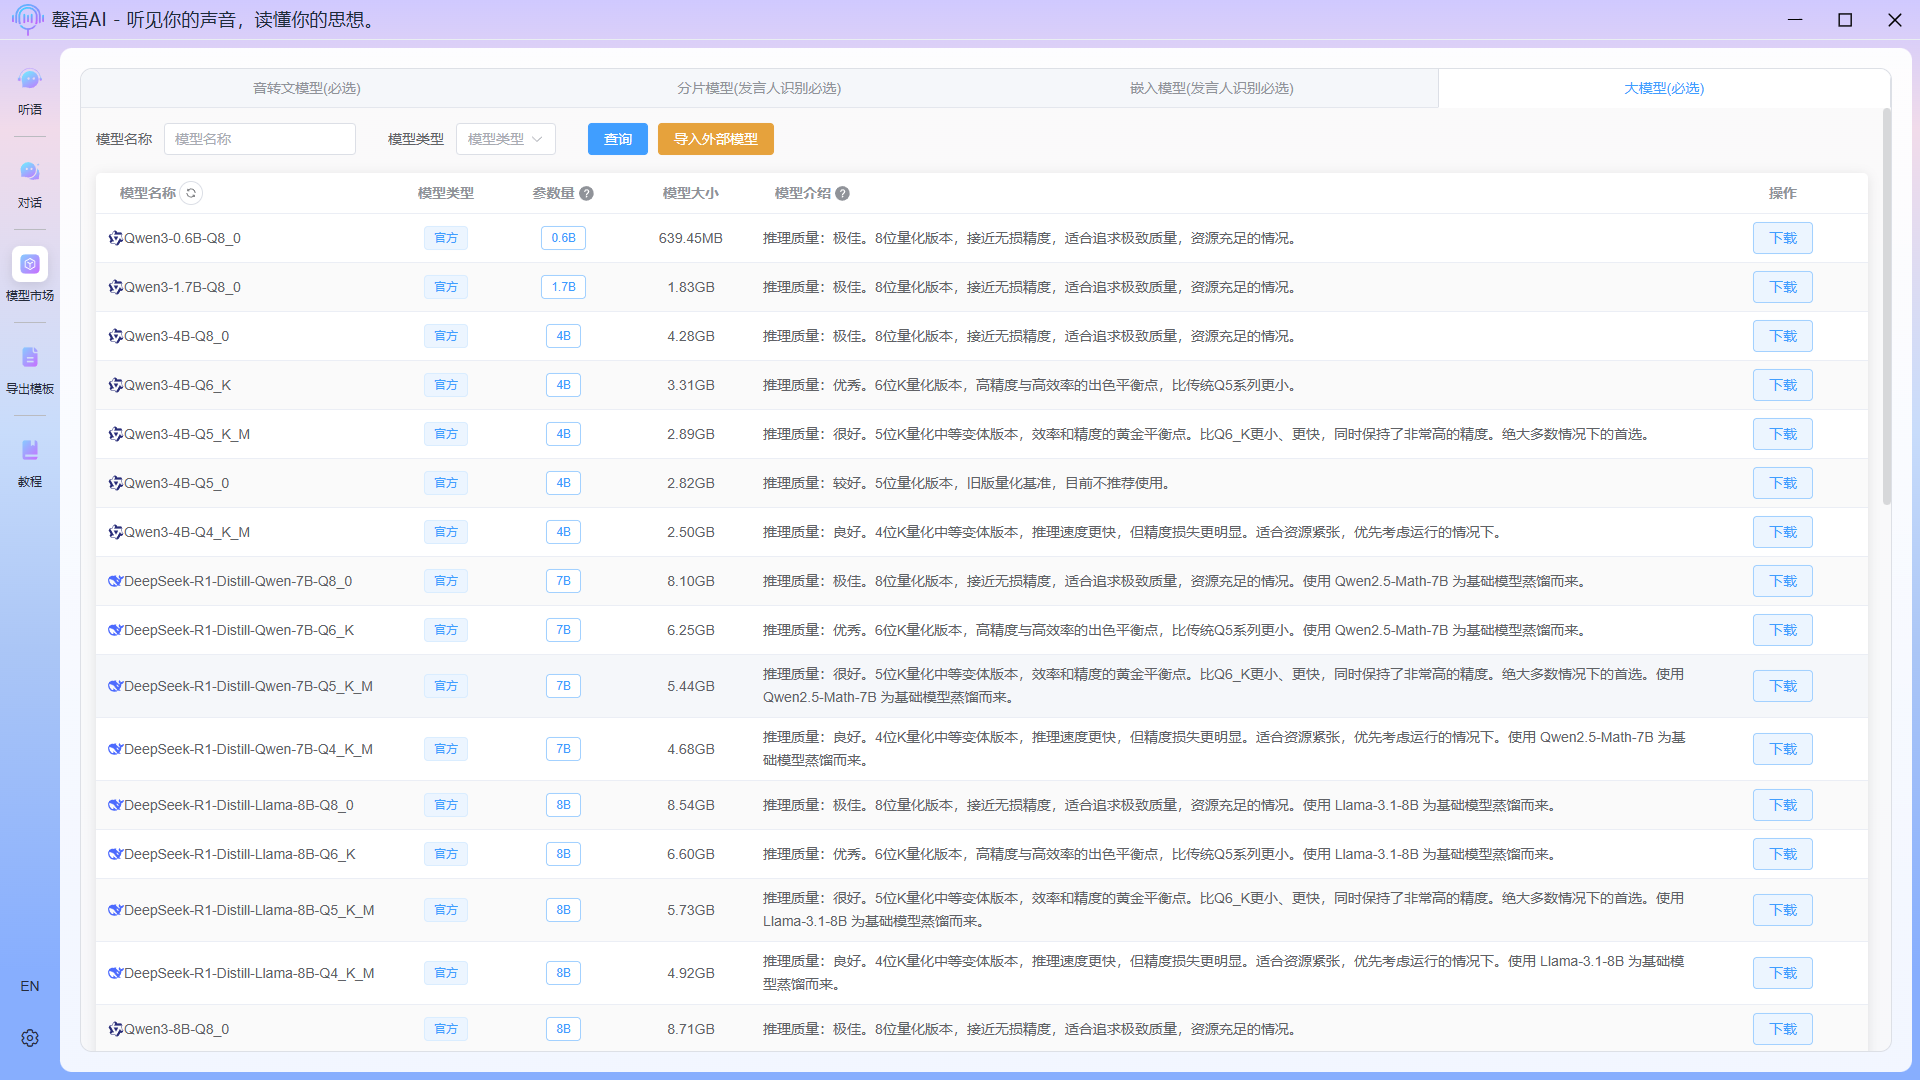
1.3 Download LLM
TIP
If you do not wish to use a local llm, you can also use the Import External Model - Import Remote Model function to access external (cloud/LAN) llm API interfaces. After importing, you need to configure the relevant parameters in System Settings before you can use it. External API interfaces only support OpenAI-like backend interfaces.
For import details, please see: Model Market
For configuration details, please see: System Settings
Step 2: Import test audio
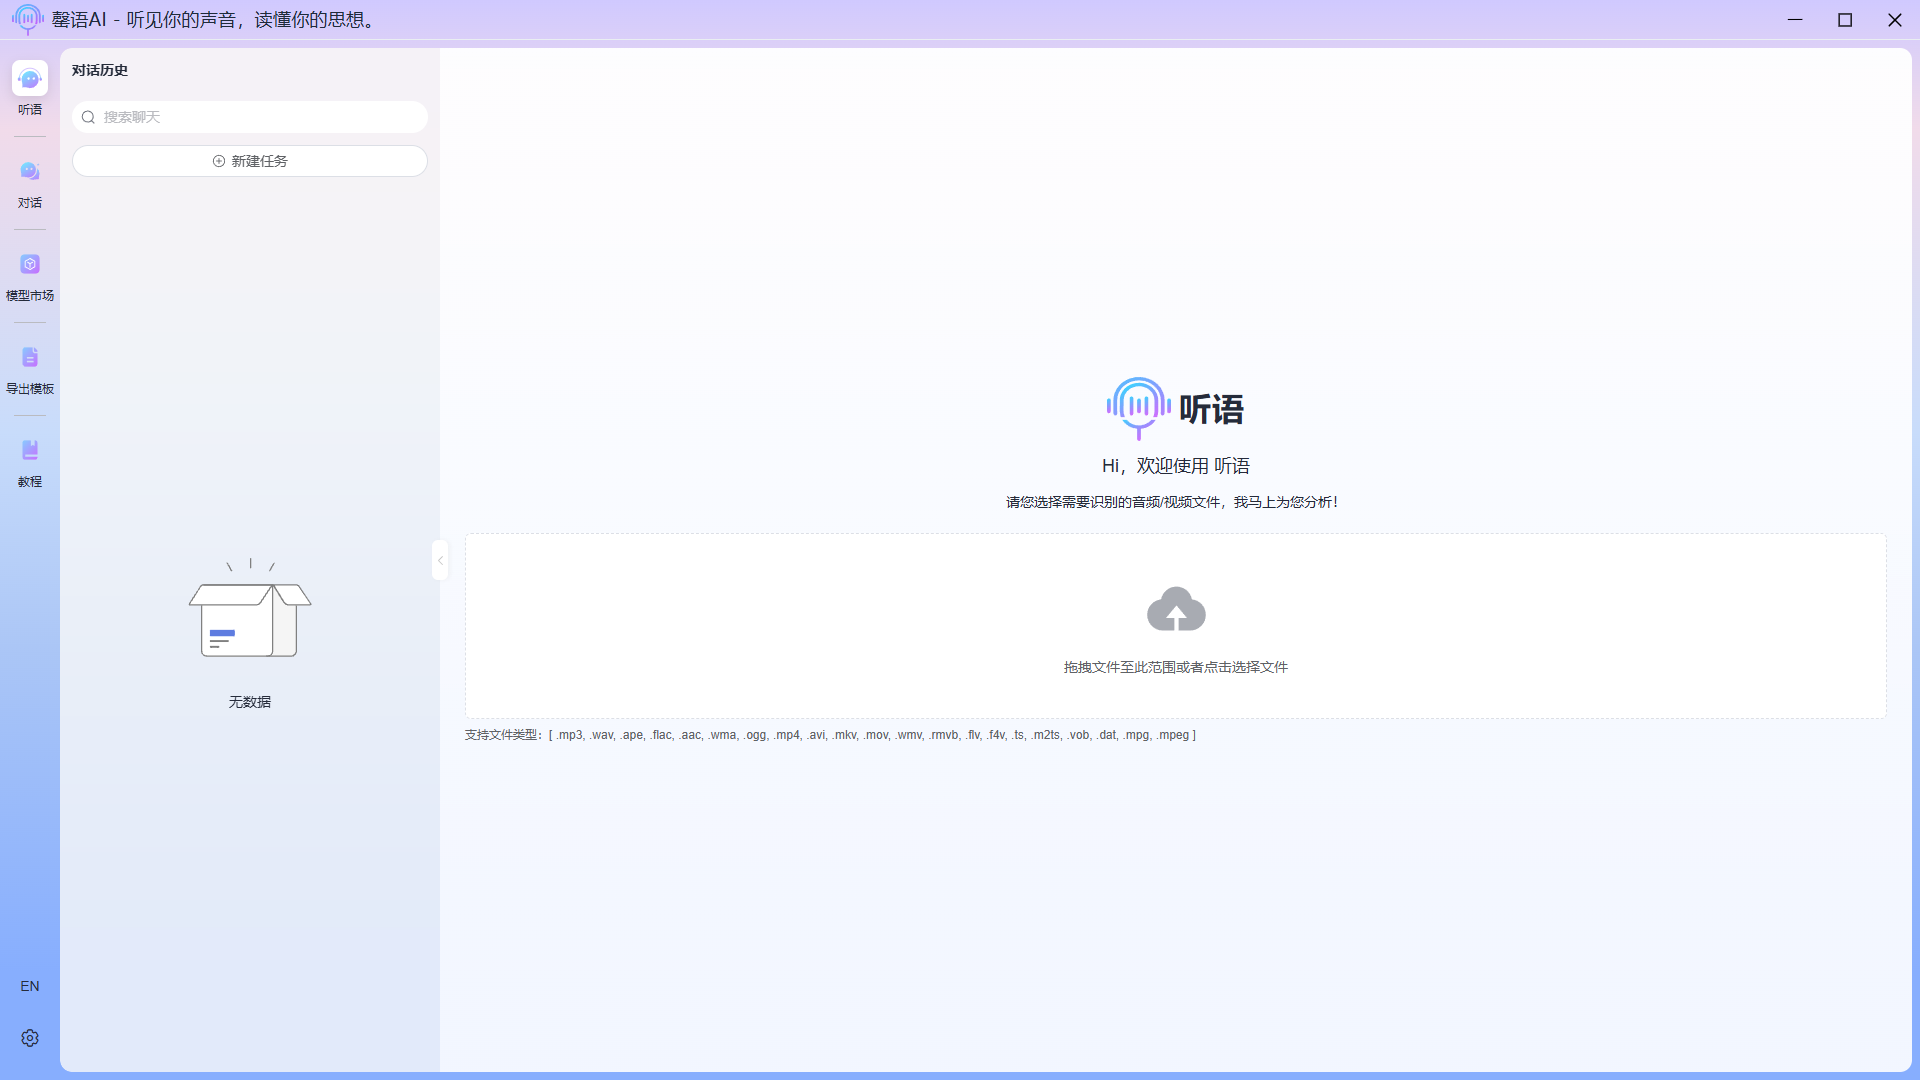 Click the upload control to select a file or drag and drop a file to the specified area. Supported file types are as follows: .mp3, .wav, .ape, .flac, .aac, .wma, .ogg, .mp4, .avi, .mkv, .mov, .wmv, .rmvb, .flv, .f4v, .ts, .m2ts, .vob, .dat, .mpg, .mpeg
Step 3: Configure the current speech recognition task and execute the task.
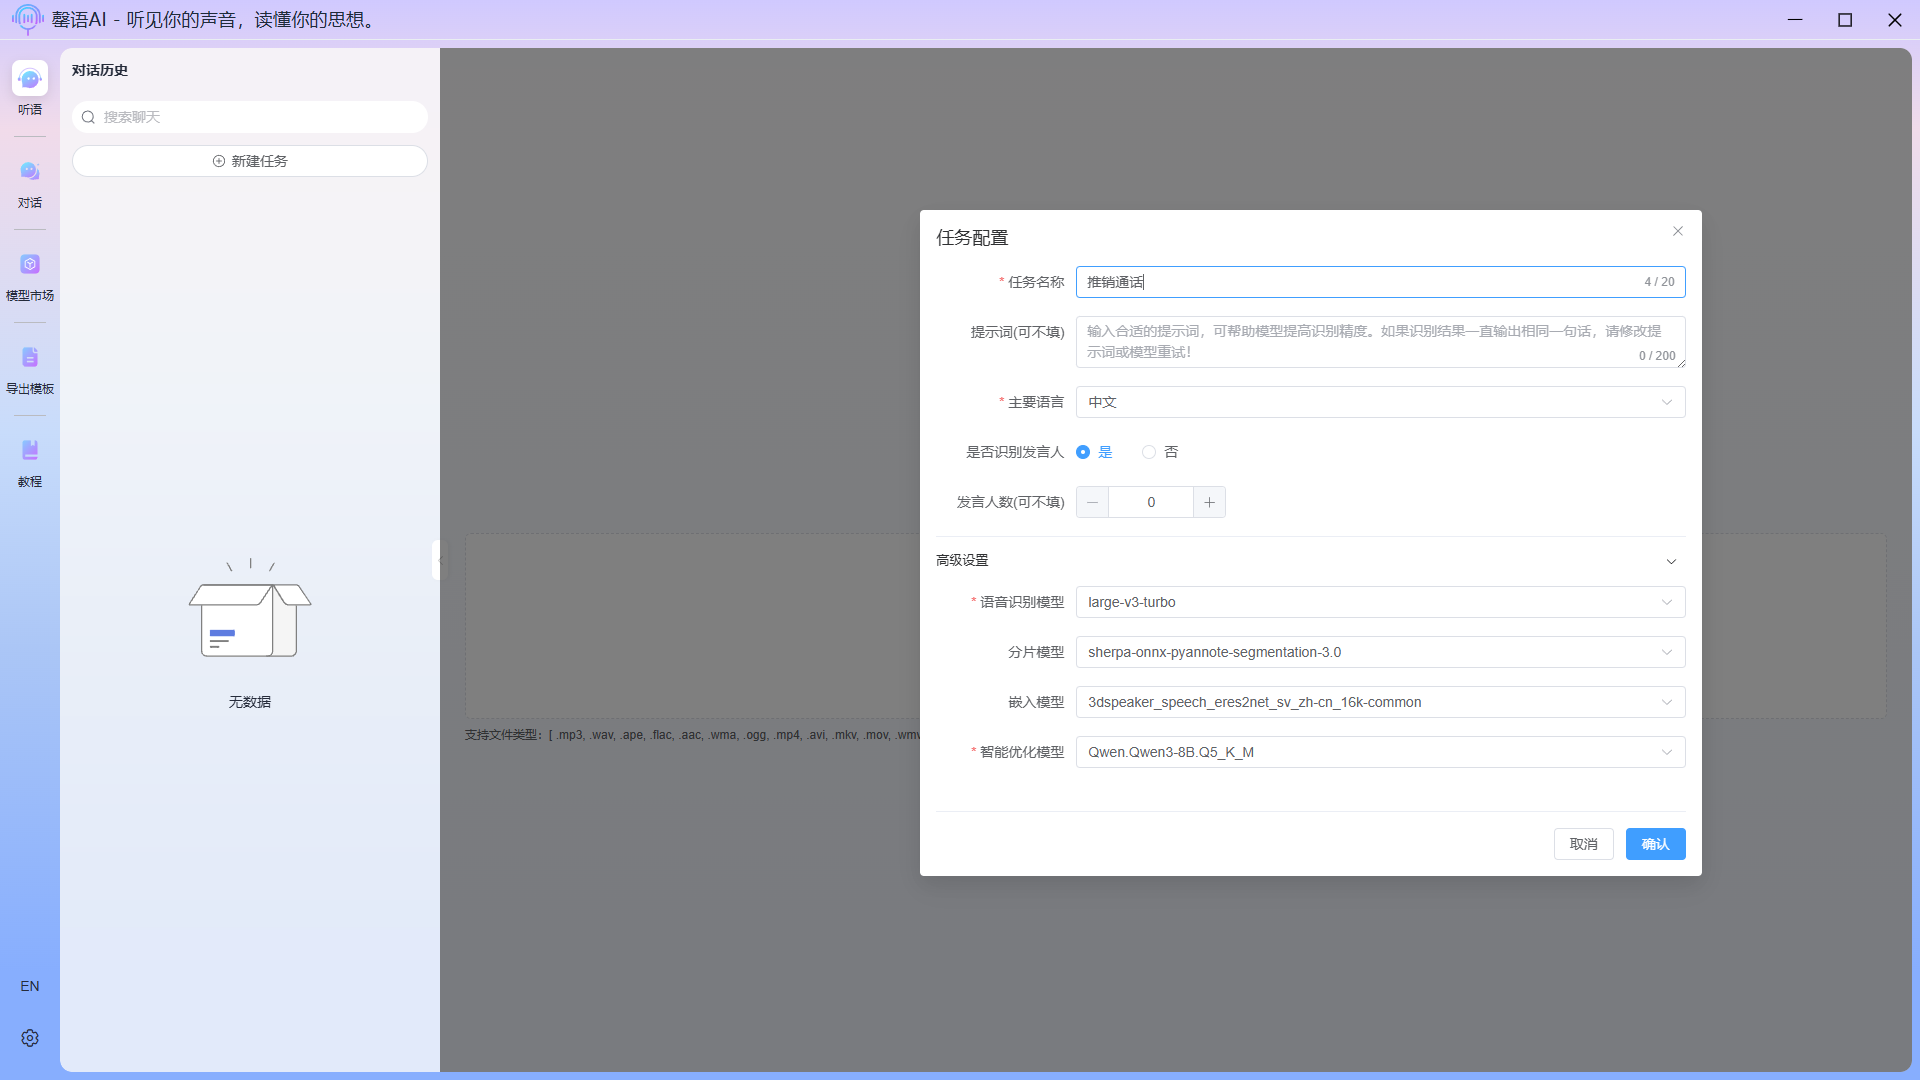
Task configuration field description:
- Task name: You can fill in anything, but it is recommended that the content be related to the actual audio content to facilitate subsequent querying and differentiation.
- Prompt: The system has built-in generic prompts; if they are not effective, you can set your own.
- Main language: The primary language spoken in the audio; for multilingual mixing, try using the Auto option.
- Recognize Spokesperson: Speaker identification, which maps a specific sentence in the audio to a particular speaker, will slow down the recognition process if this function is selected. The accuracy of the recognition largely depends on the clarity of the audio.
- Number of speakers: The preset number of speakers helps the model better distinguish between speakers.
- ASR Model: Choose the speech recognition model you wish to use.
- Segment Model: This is for speaker identification purposes; simply select the model you wish to use.
- Embedding Model: This is for speaker identification purposes; simply select the model you wish to use.
- Optimization Model: Choose the large language model you wish to use; the more parameters a model has, the better the results. Models with fewer than 4B of parameters will not perform well and may produce errors during export. This model is used to optimize text after speech recognition, correct typos, and perform intelligent export.
After filling in the information, click Confirm to start the task. During the task execution, please do not close the application or switch interfaces, otherwise the task will fail.
Recognizing: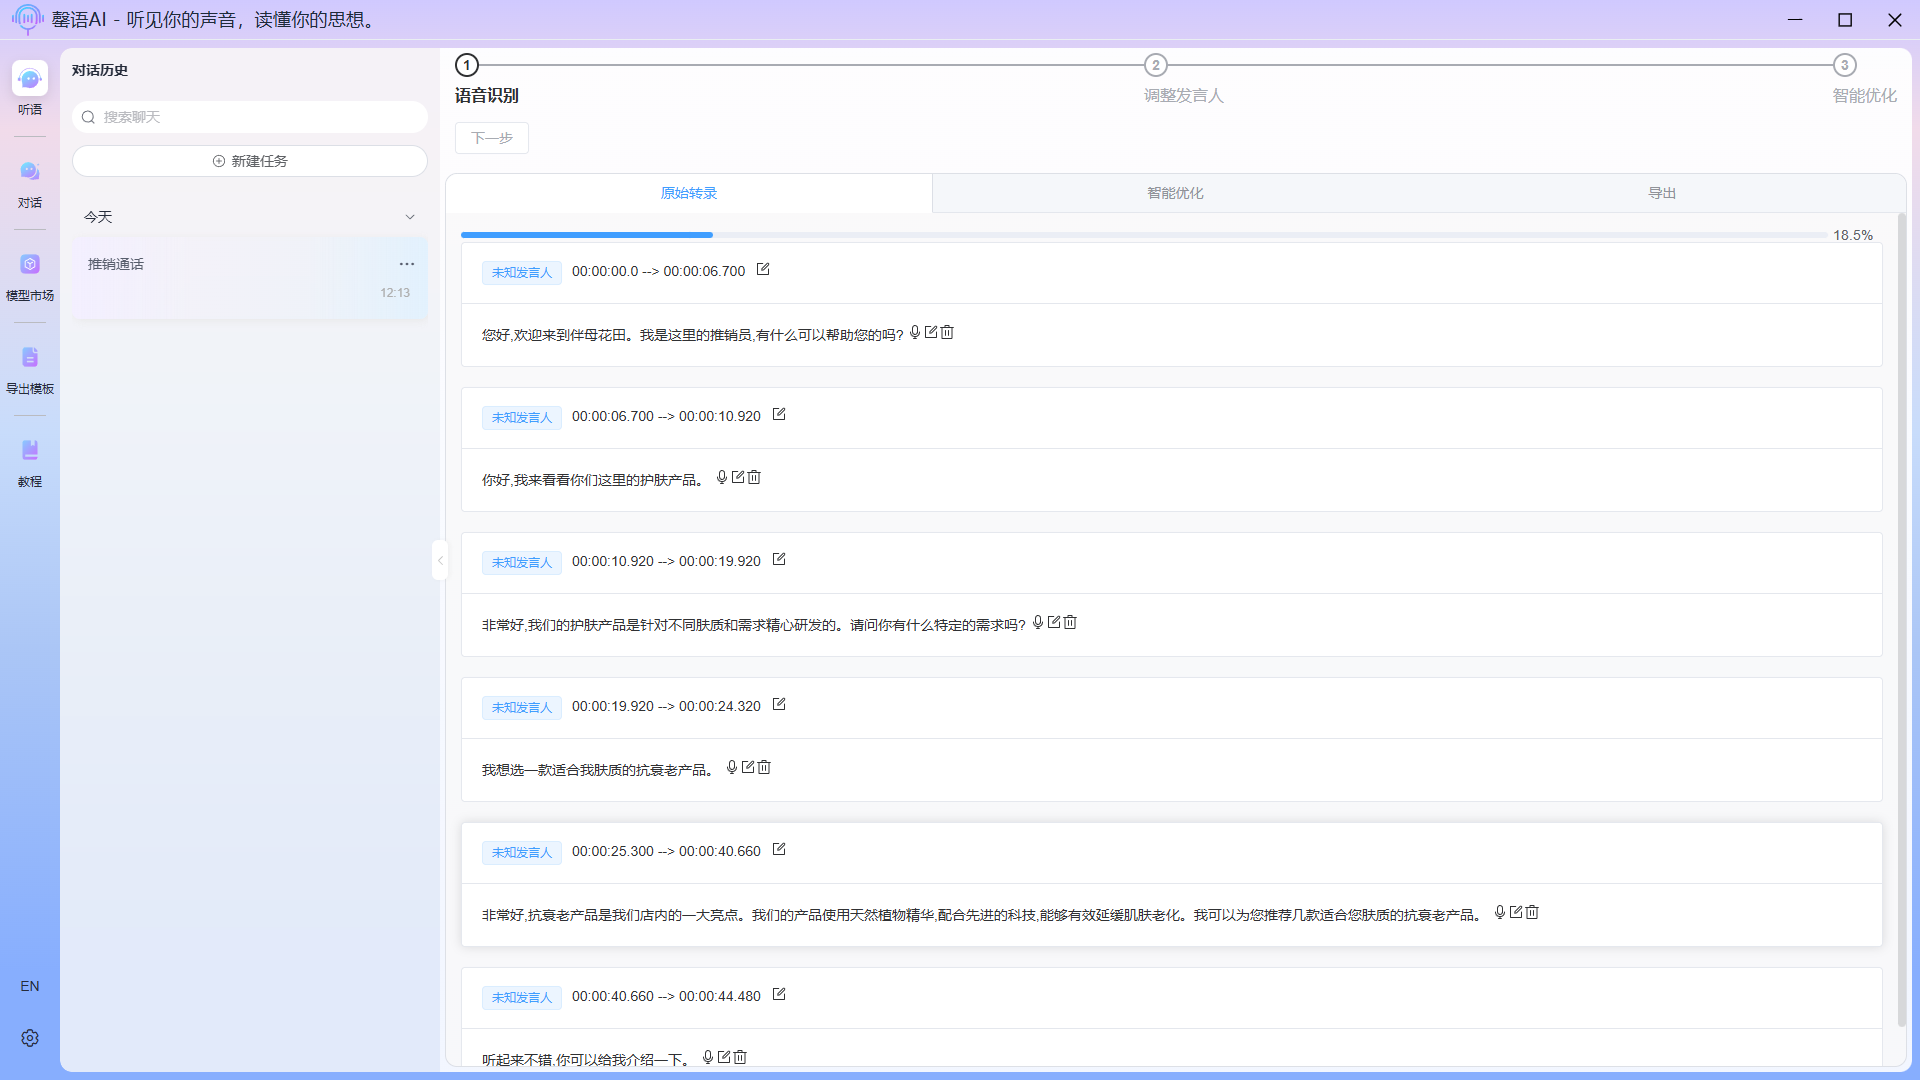 Recognition complete:
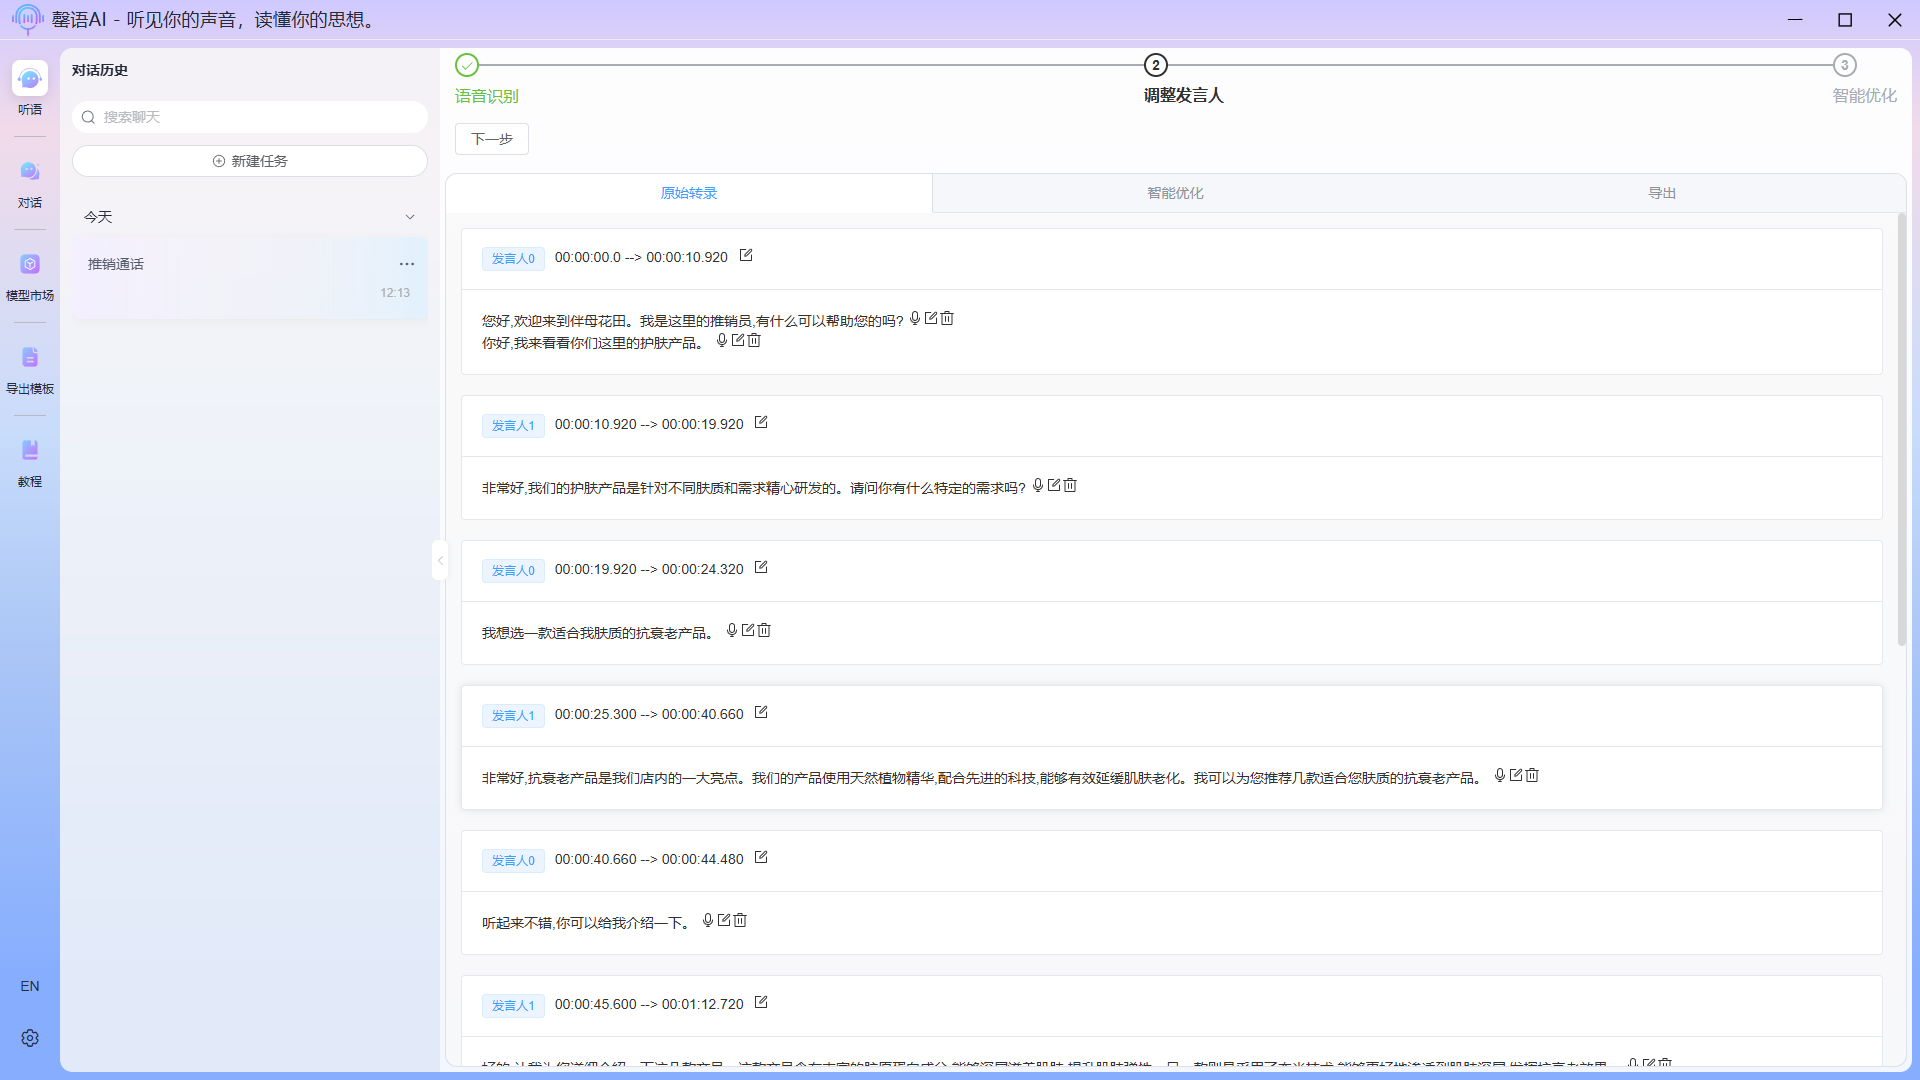
TIP
Since speaker recognition is an experimental feature, its accuracy is currently unstable. Therefore, after recognition, the text corresponding to the speaker needs to be modified multiple times to maximize the effect.
Step 4: Edit the original identified content corresponding to the speaker (optional)
To modify the original speech recognition content and identify the speaker, if multiple speakers are identified as the same person, you can click the edit icon at the top of the corresponding card to merge multiple speakers, or modify the speaker's name. You can also play the corresponding audio and delete a sentence. 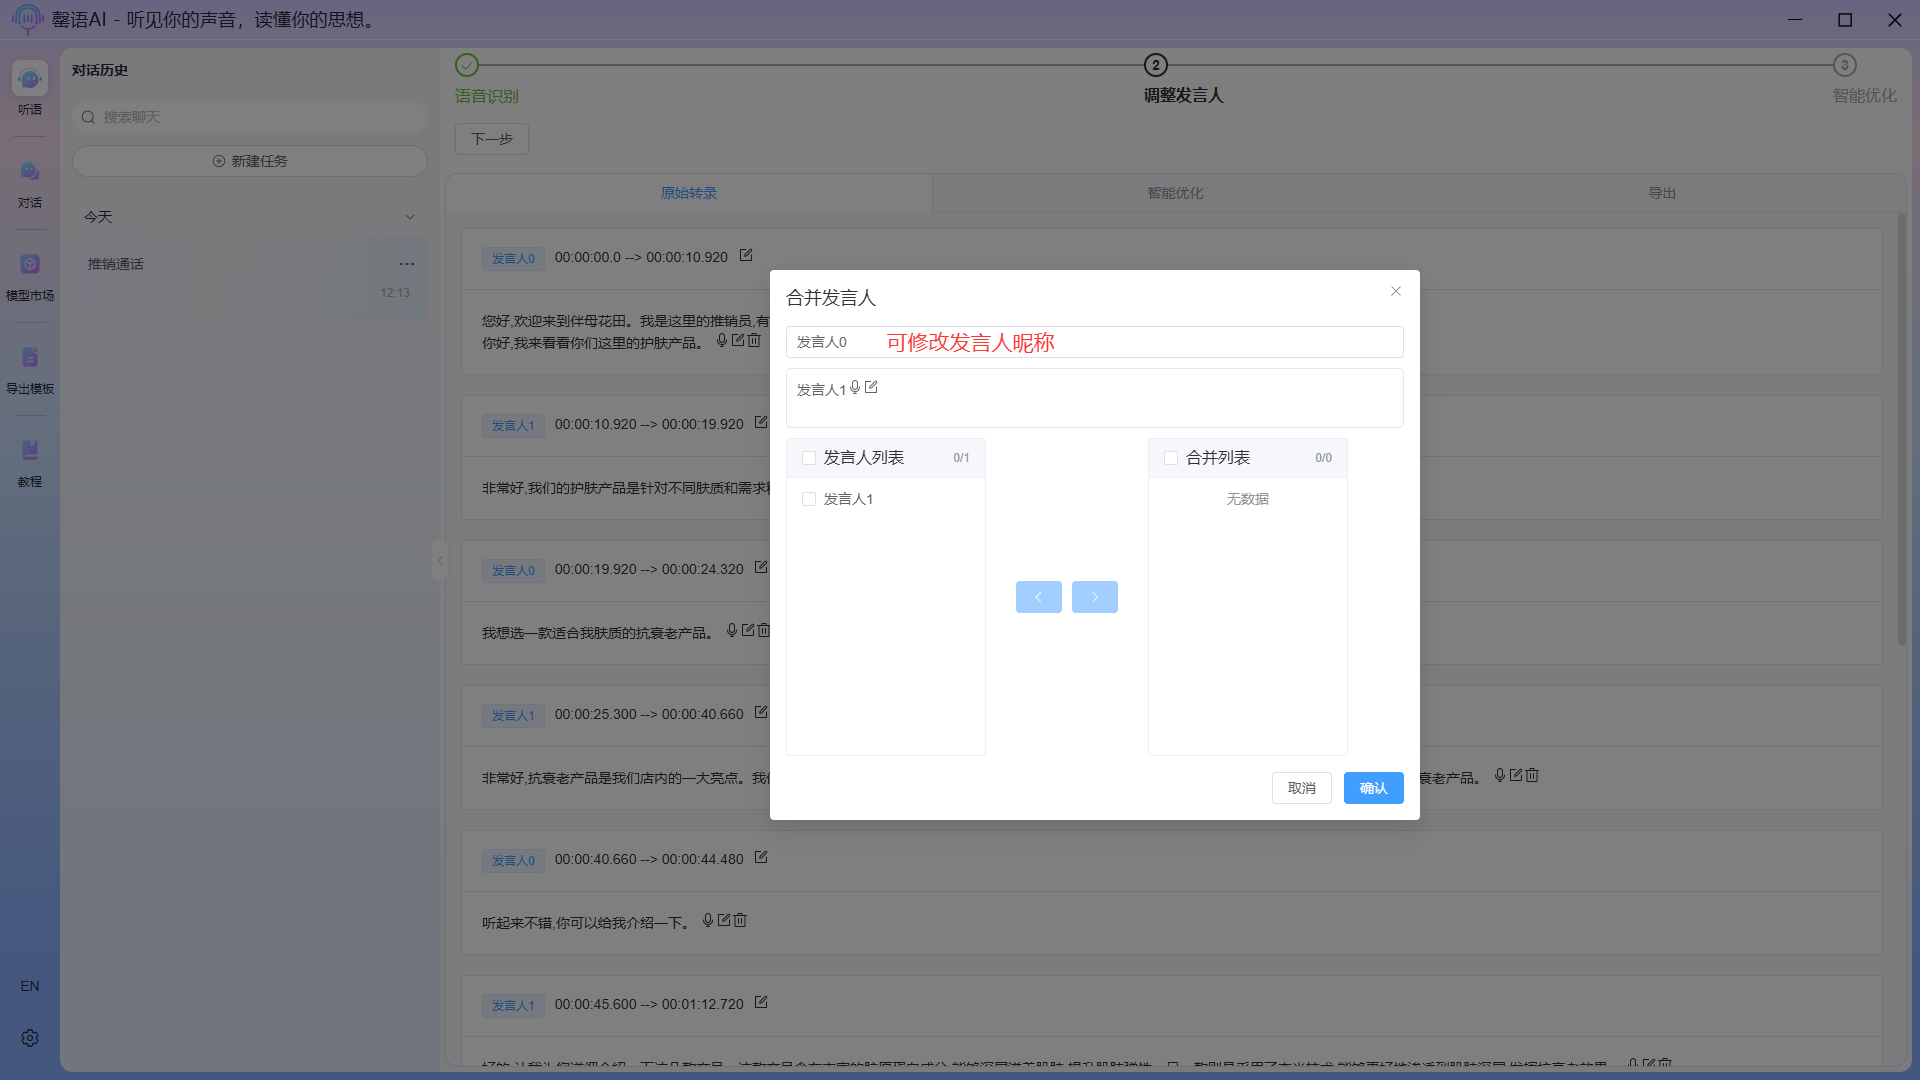
Modify the speaker corresponding to a certain sentence: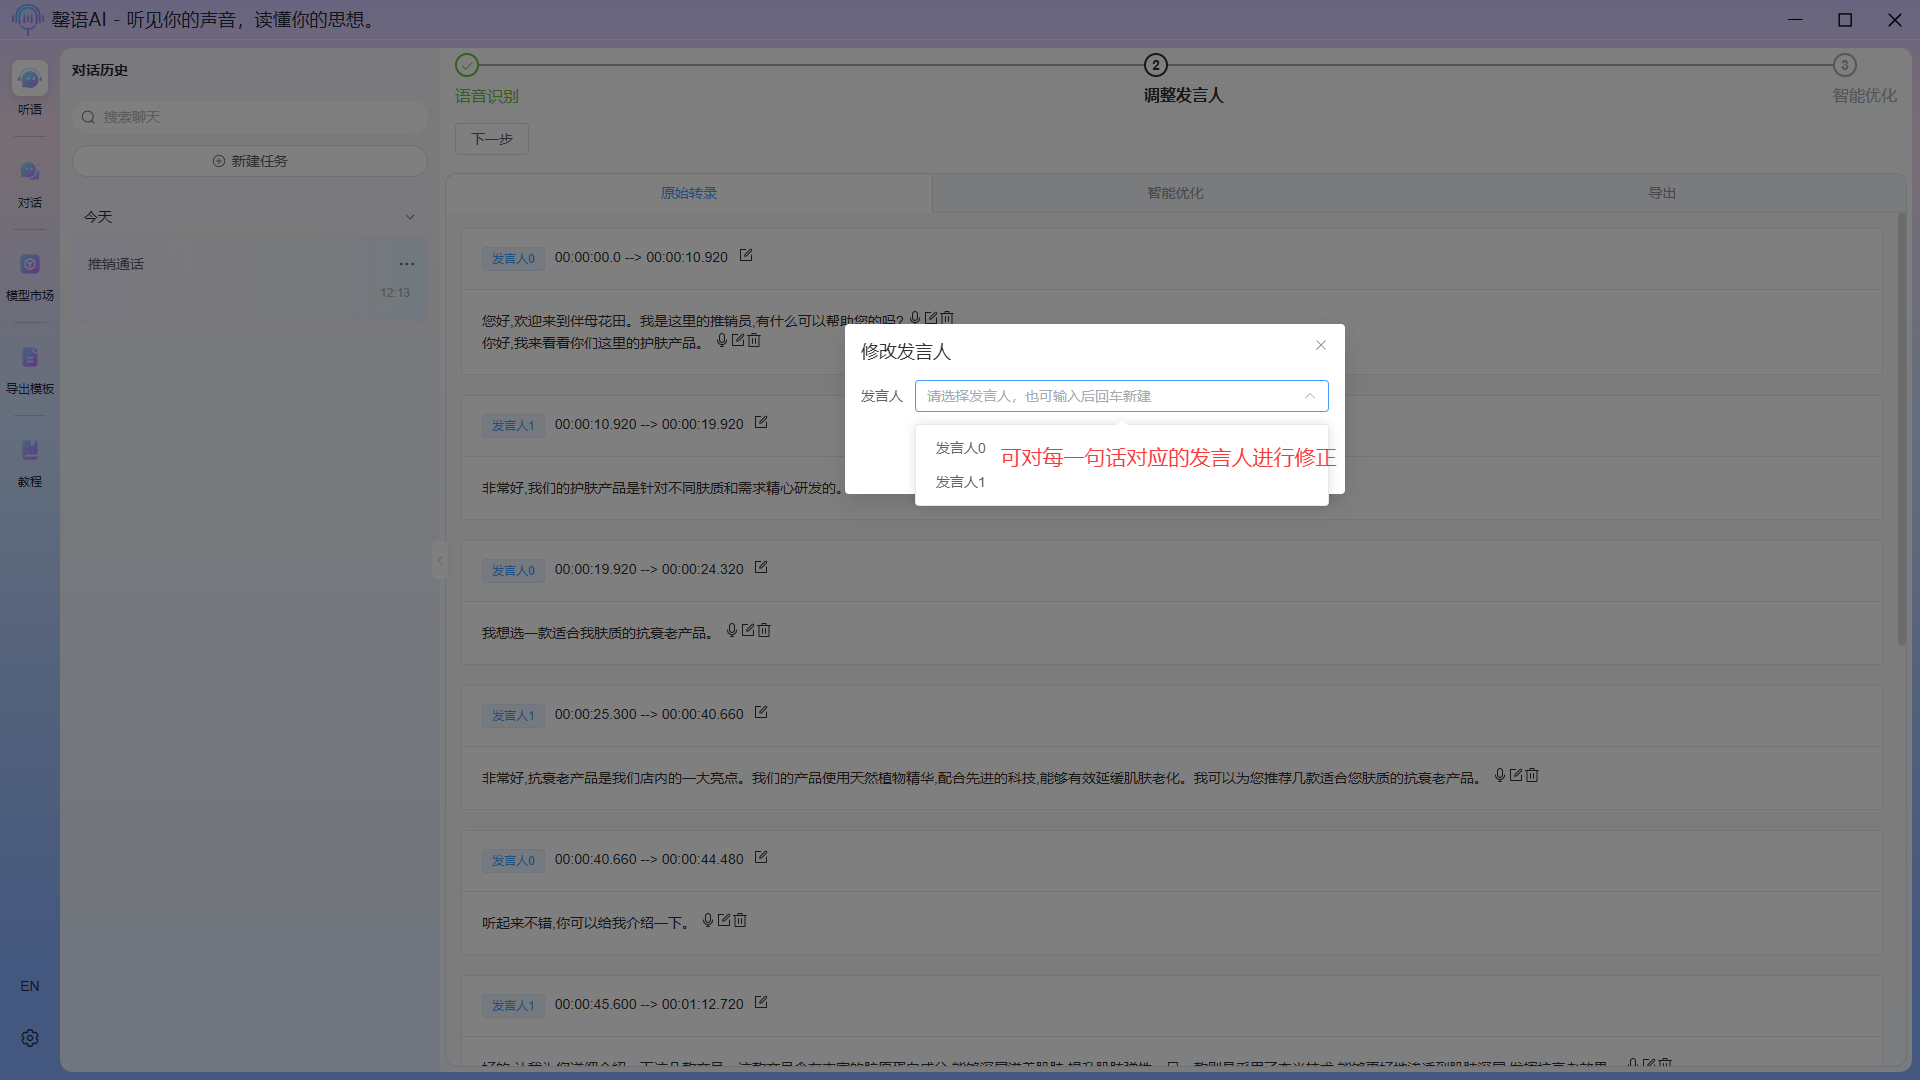
Example of completed modification: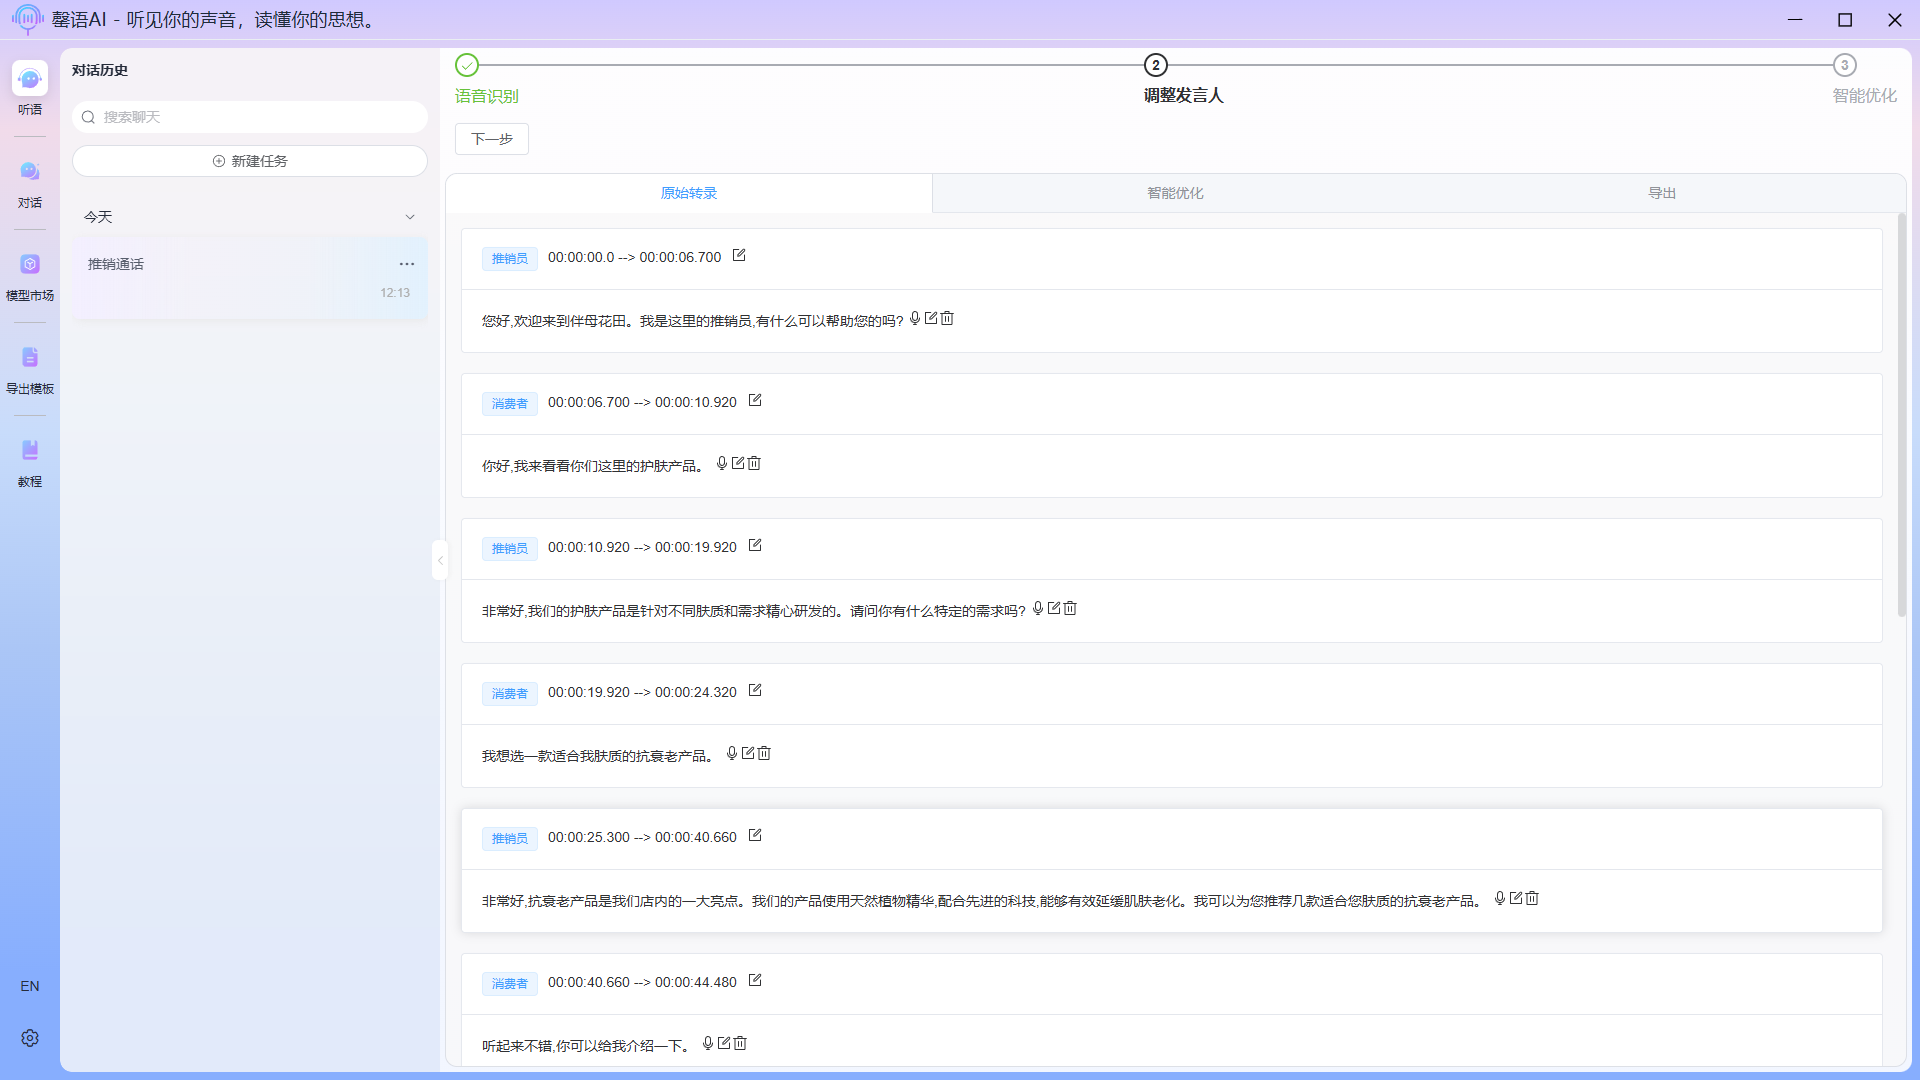
Step 5: Perform intelligent correction and optimization on the original recognized content.
Click Next on the task page to trigger intelligent correction and optimization. 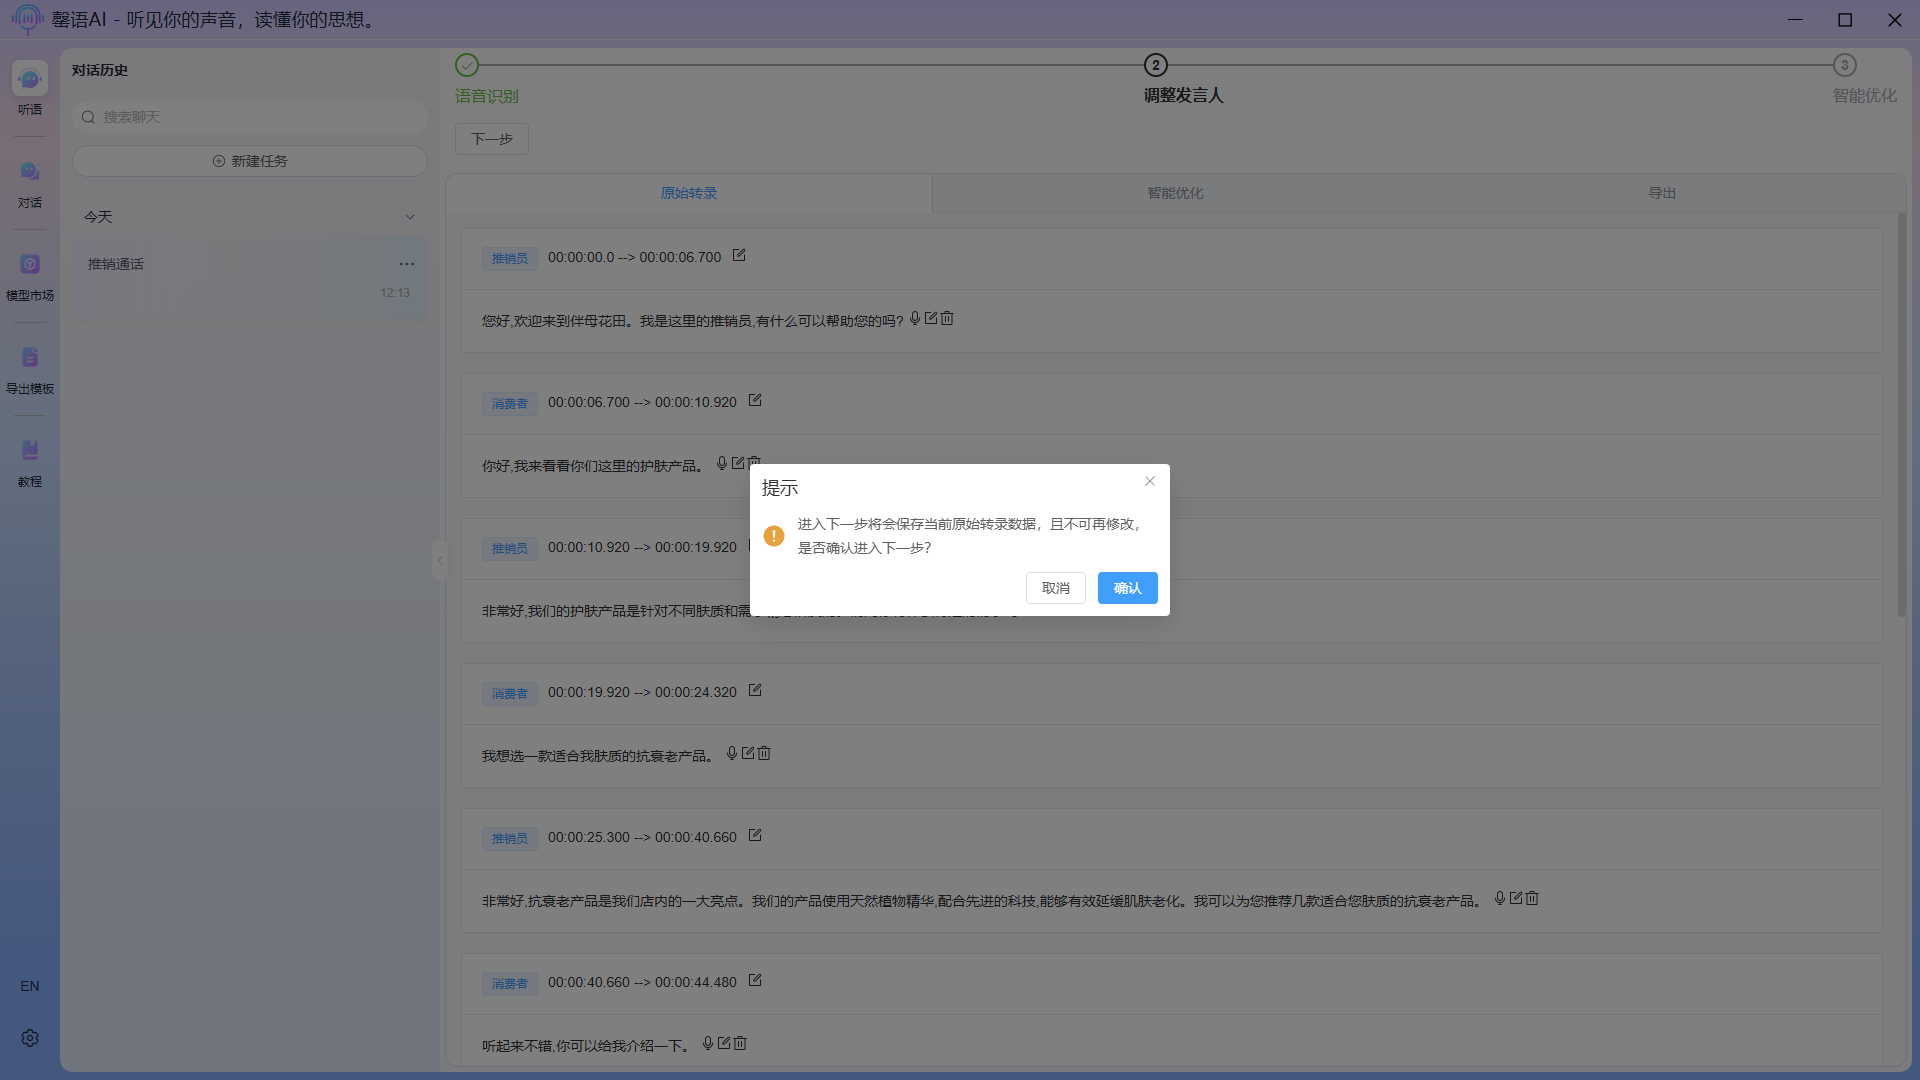
LLM optimization in progress: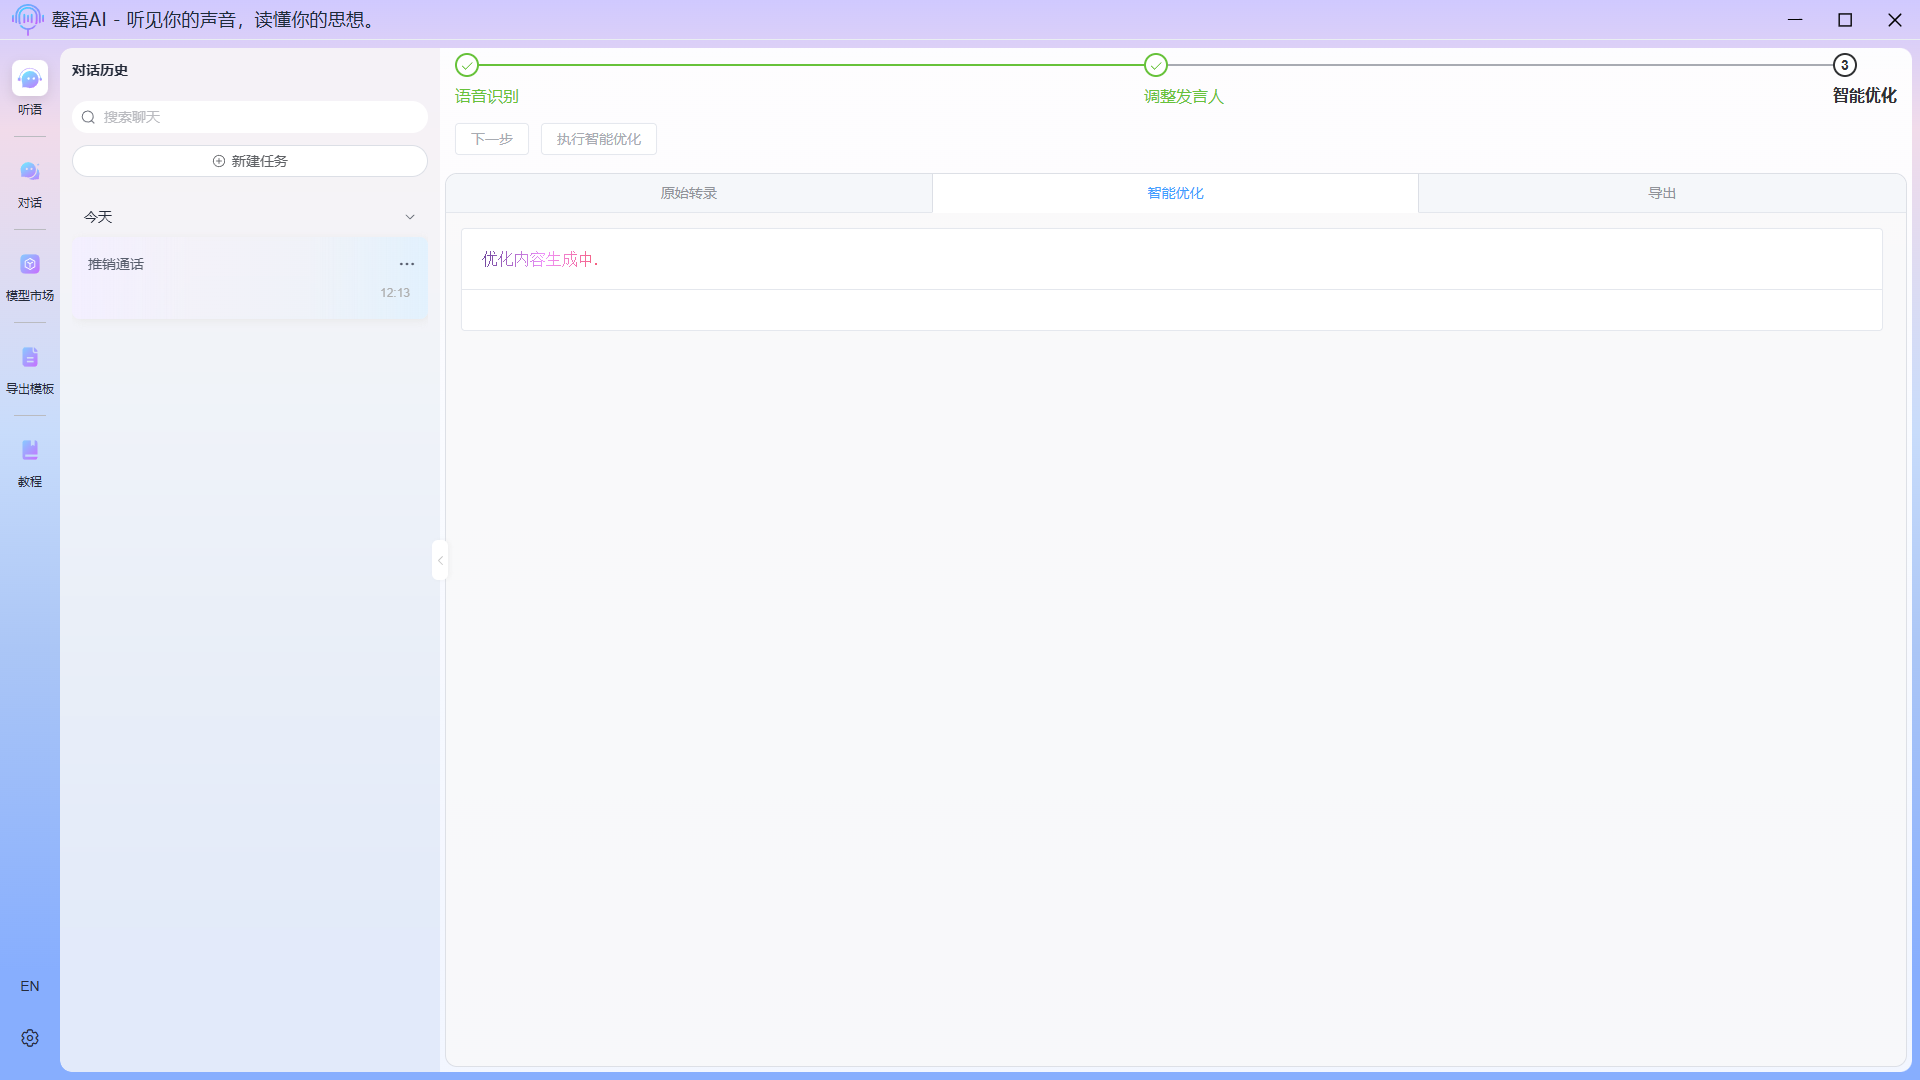
WARNING
Please do not switch interfaces before the optimization is complete, to avoid errors that could prevent the entire task from proceeding.
Optimization complete: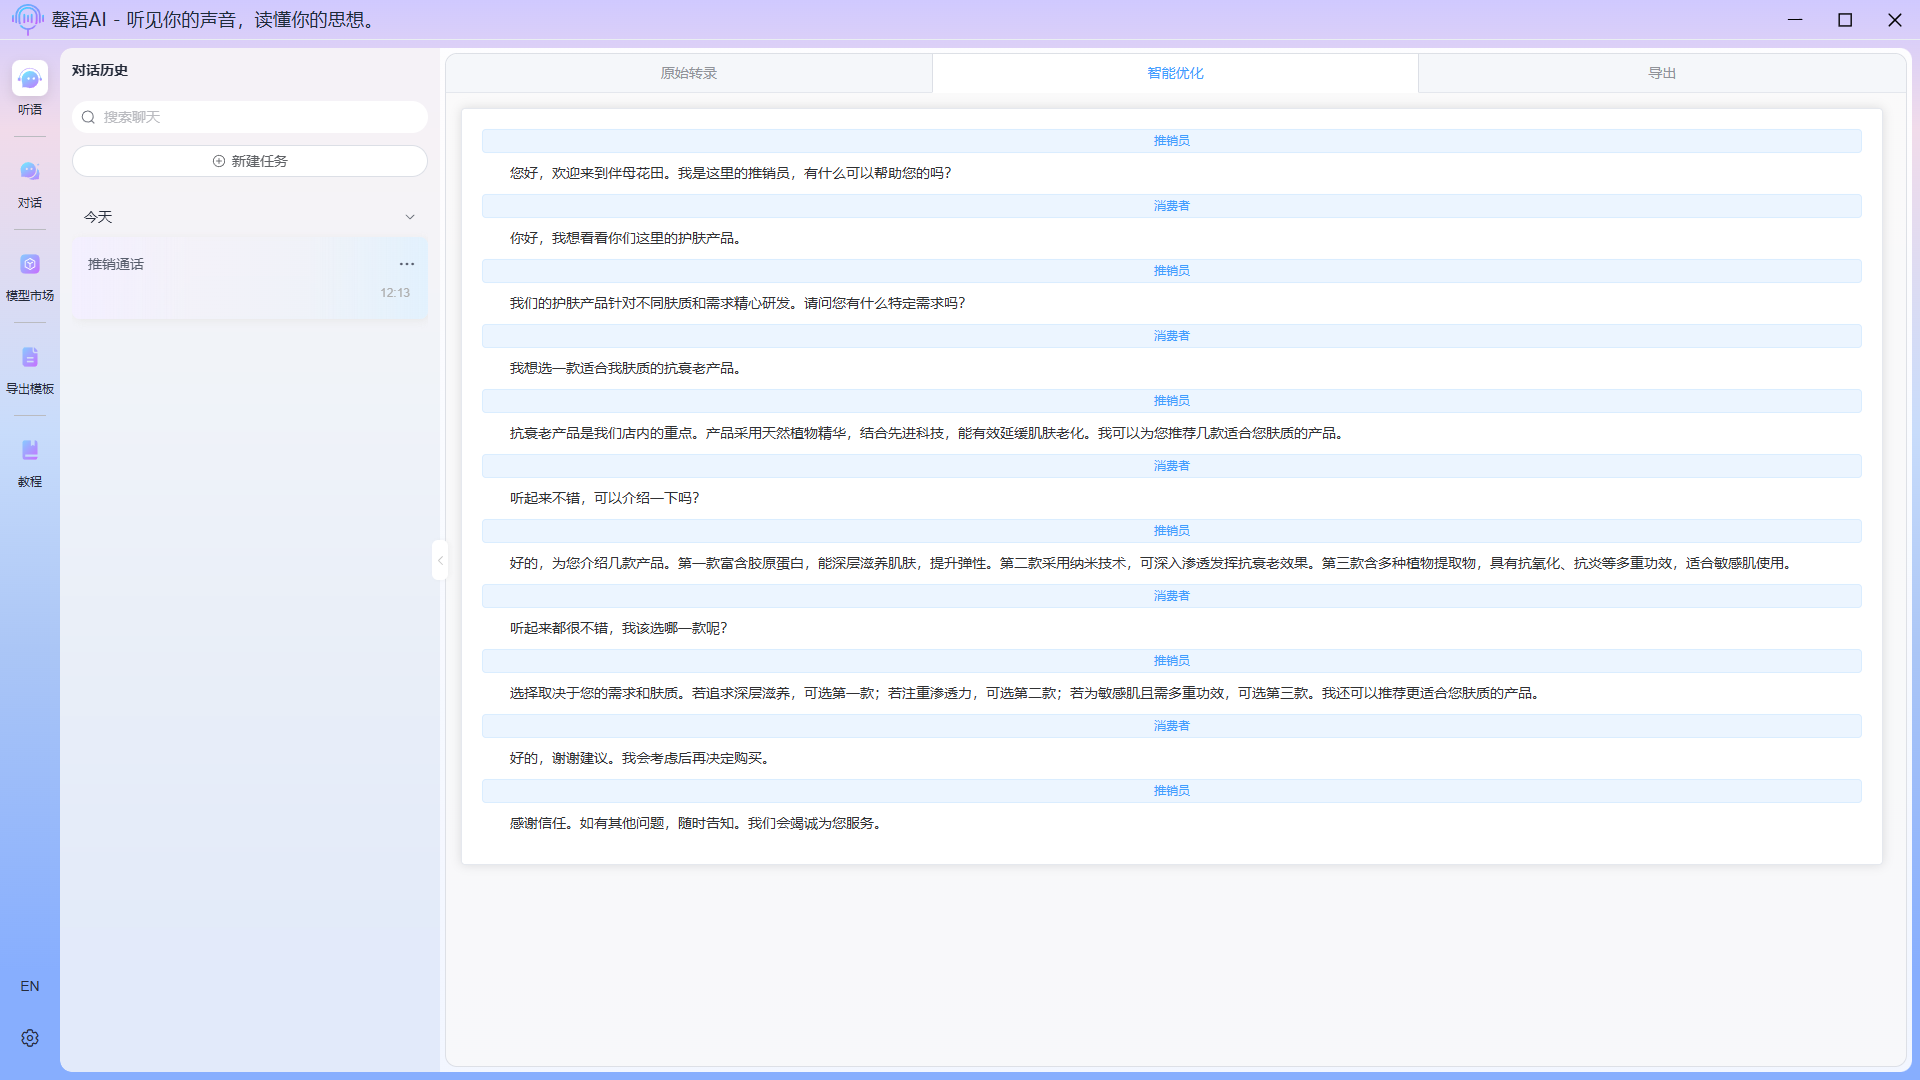
Step 6: Open the exported template and create a standard template (optional).
6.1 Enable template function
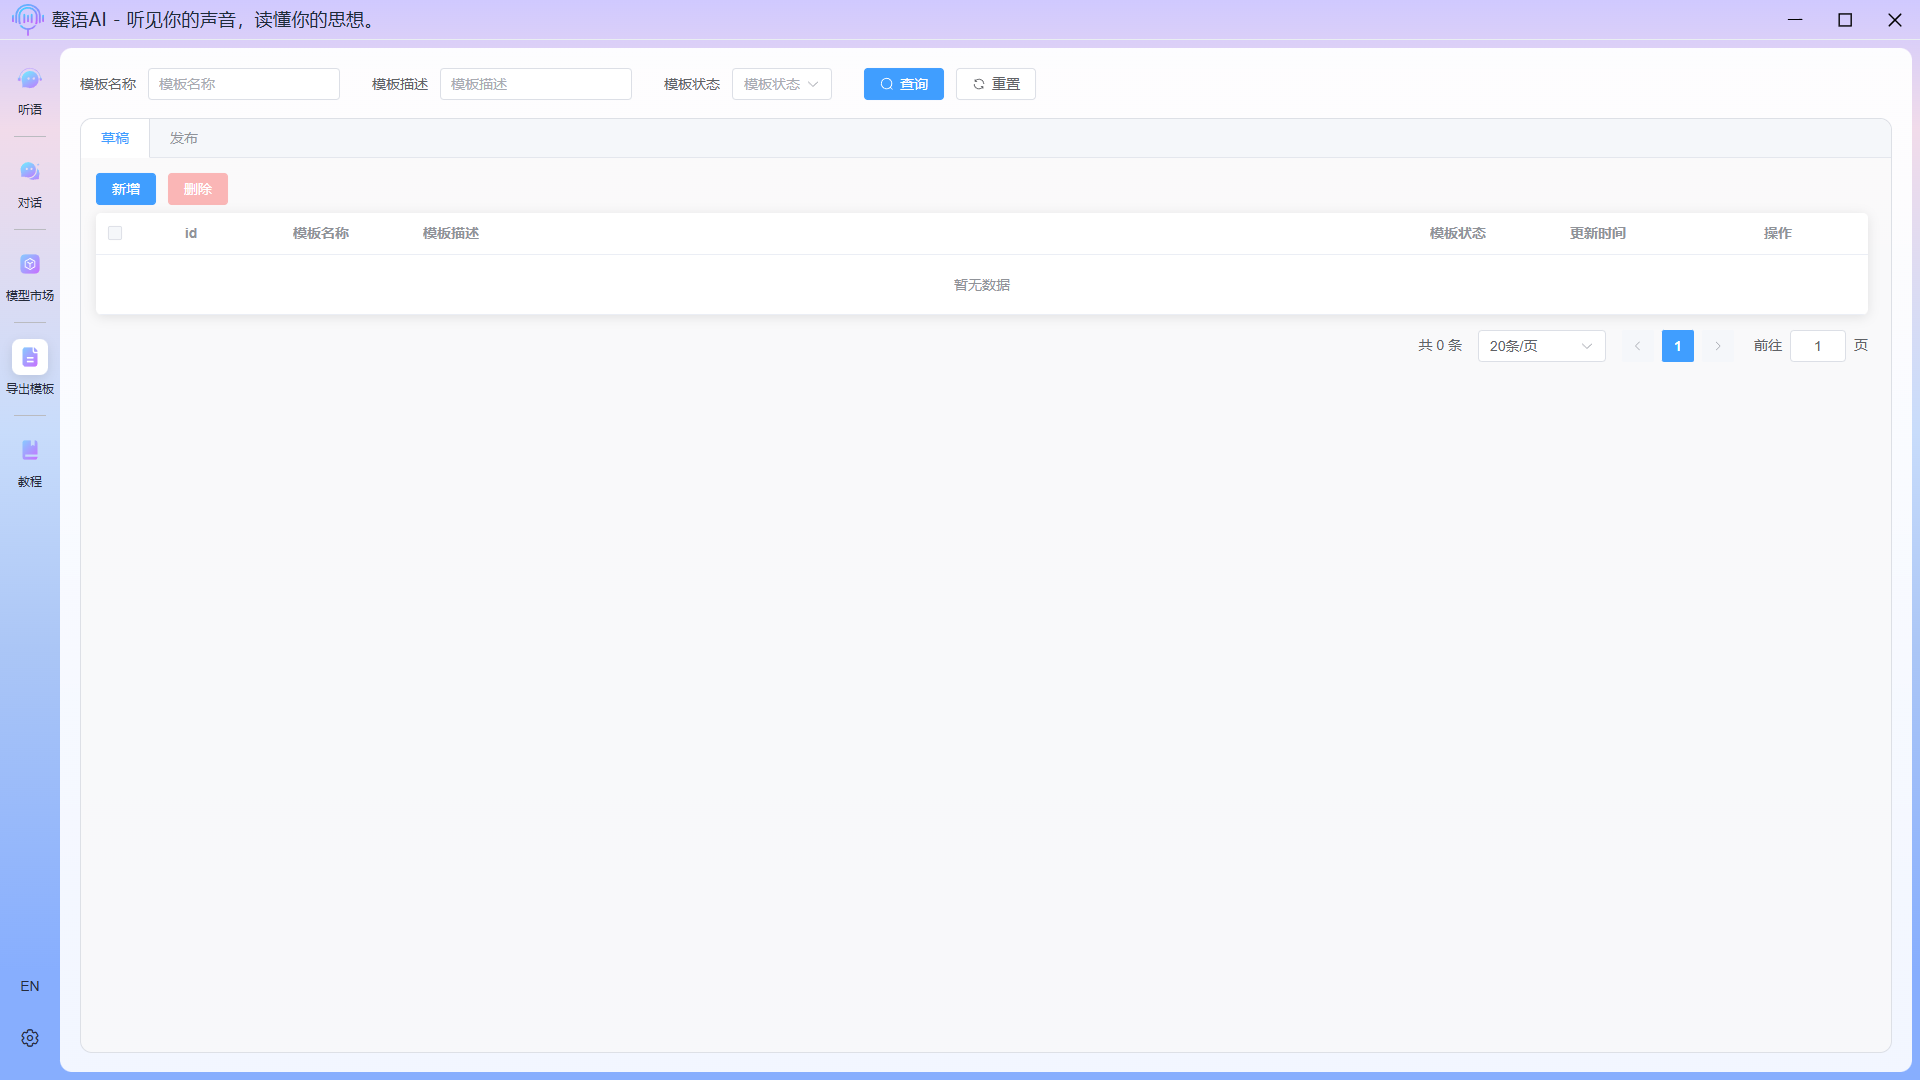
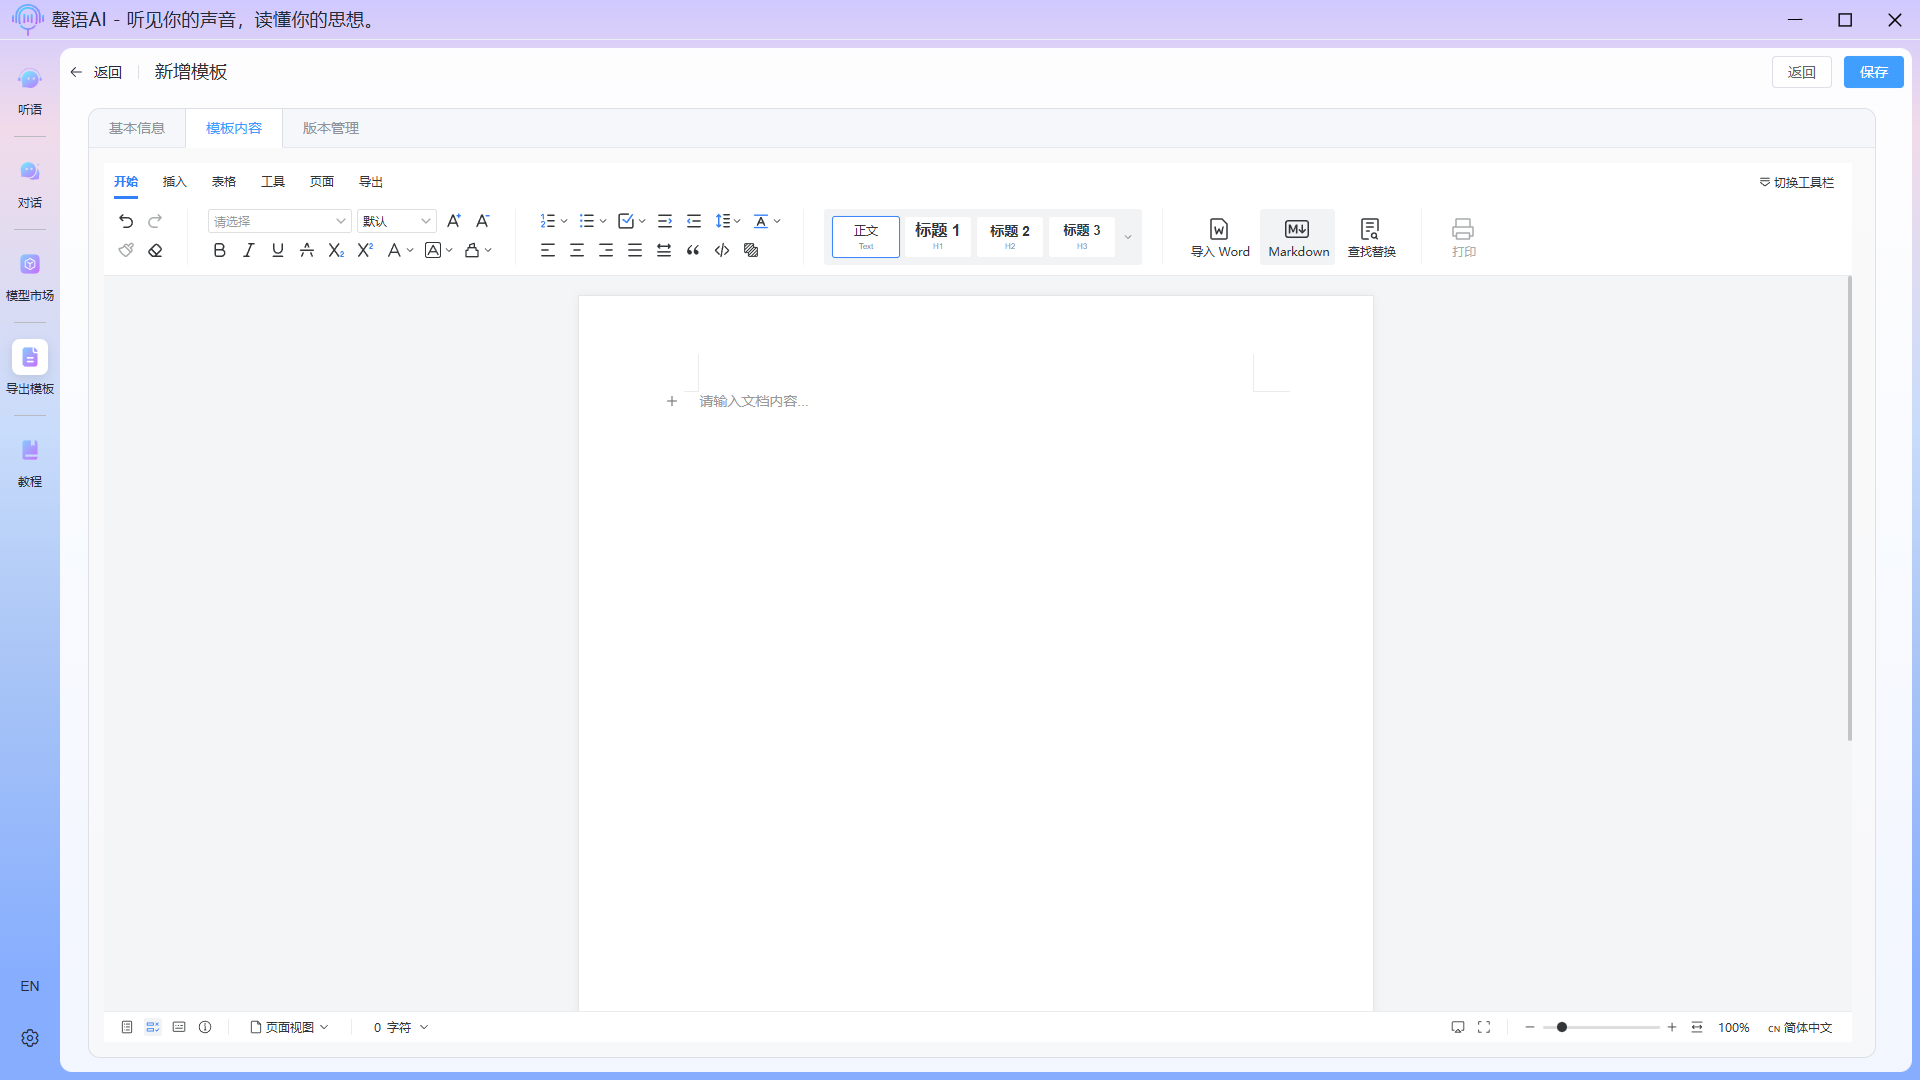
6.2 New template
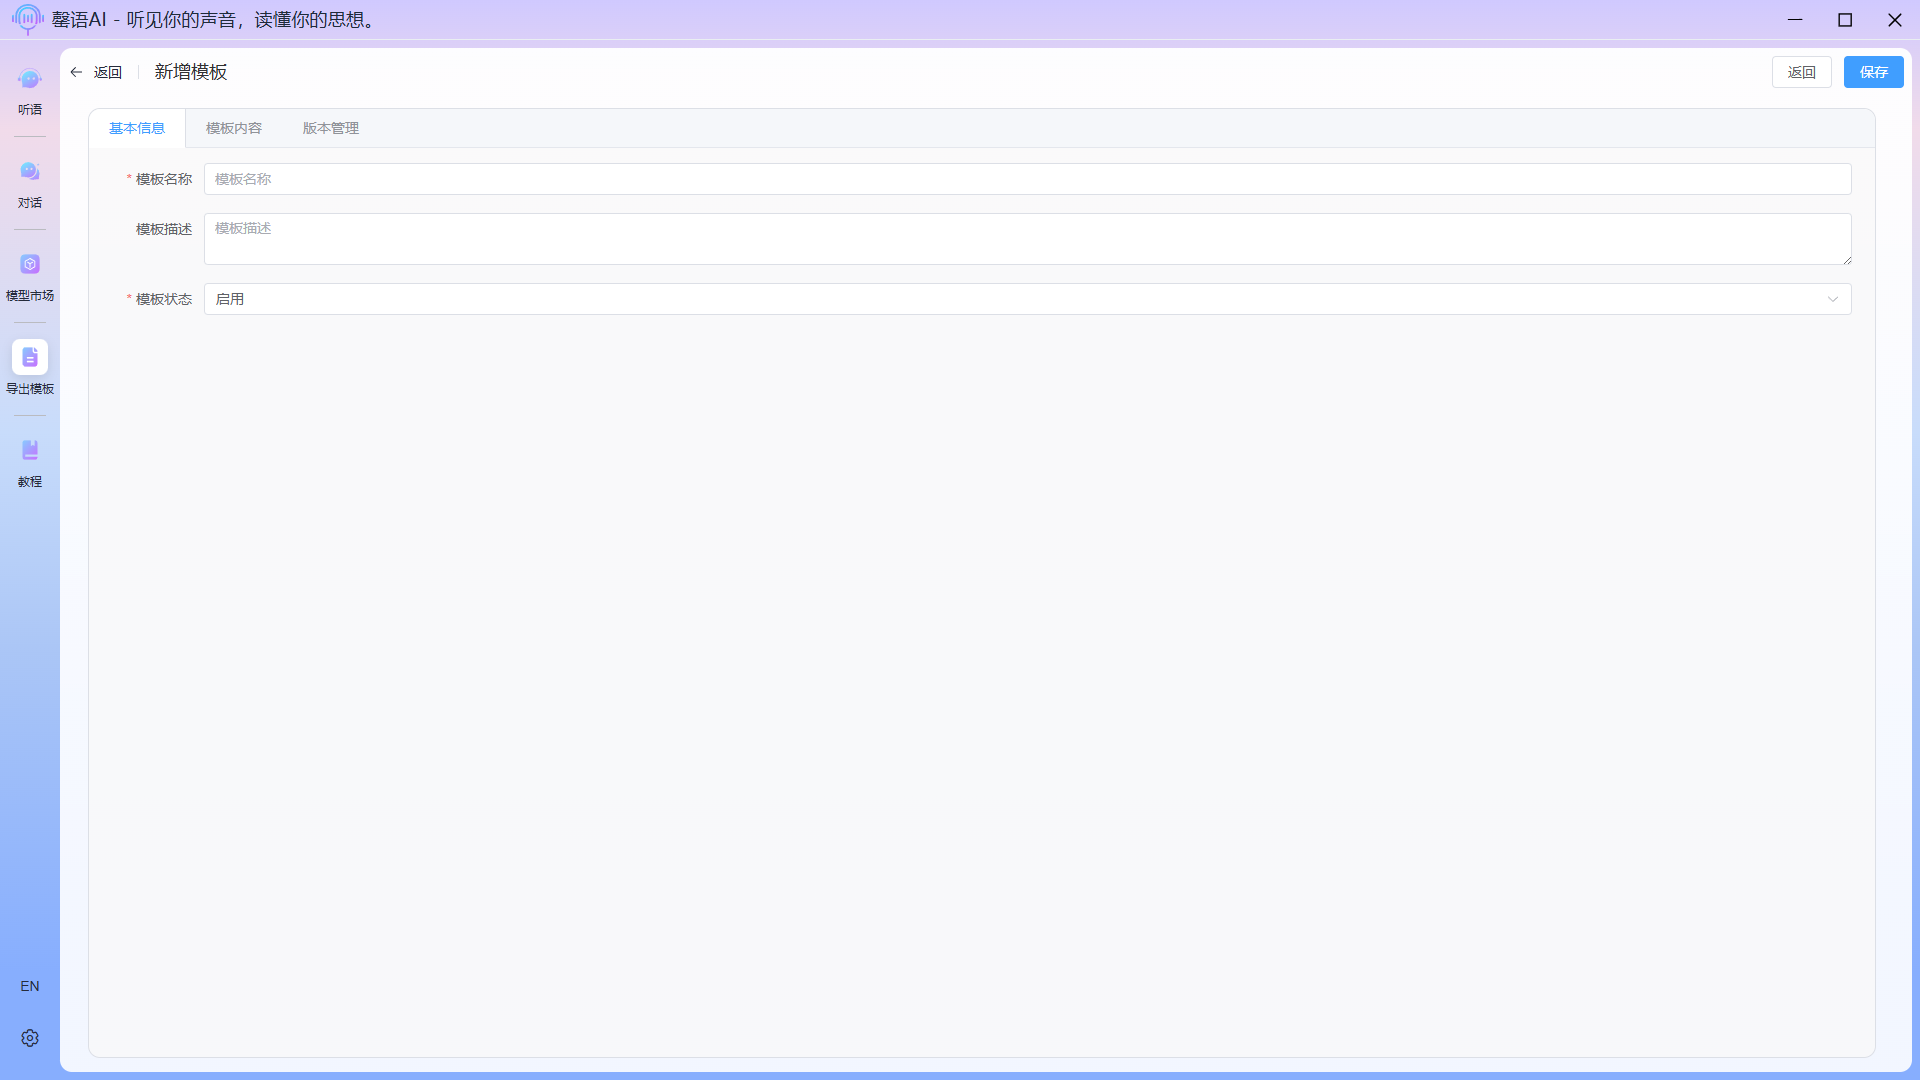
- Fill in the basic information in the template
- Edit template
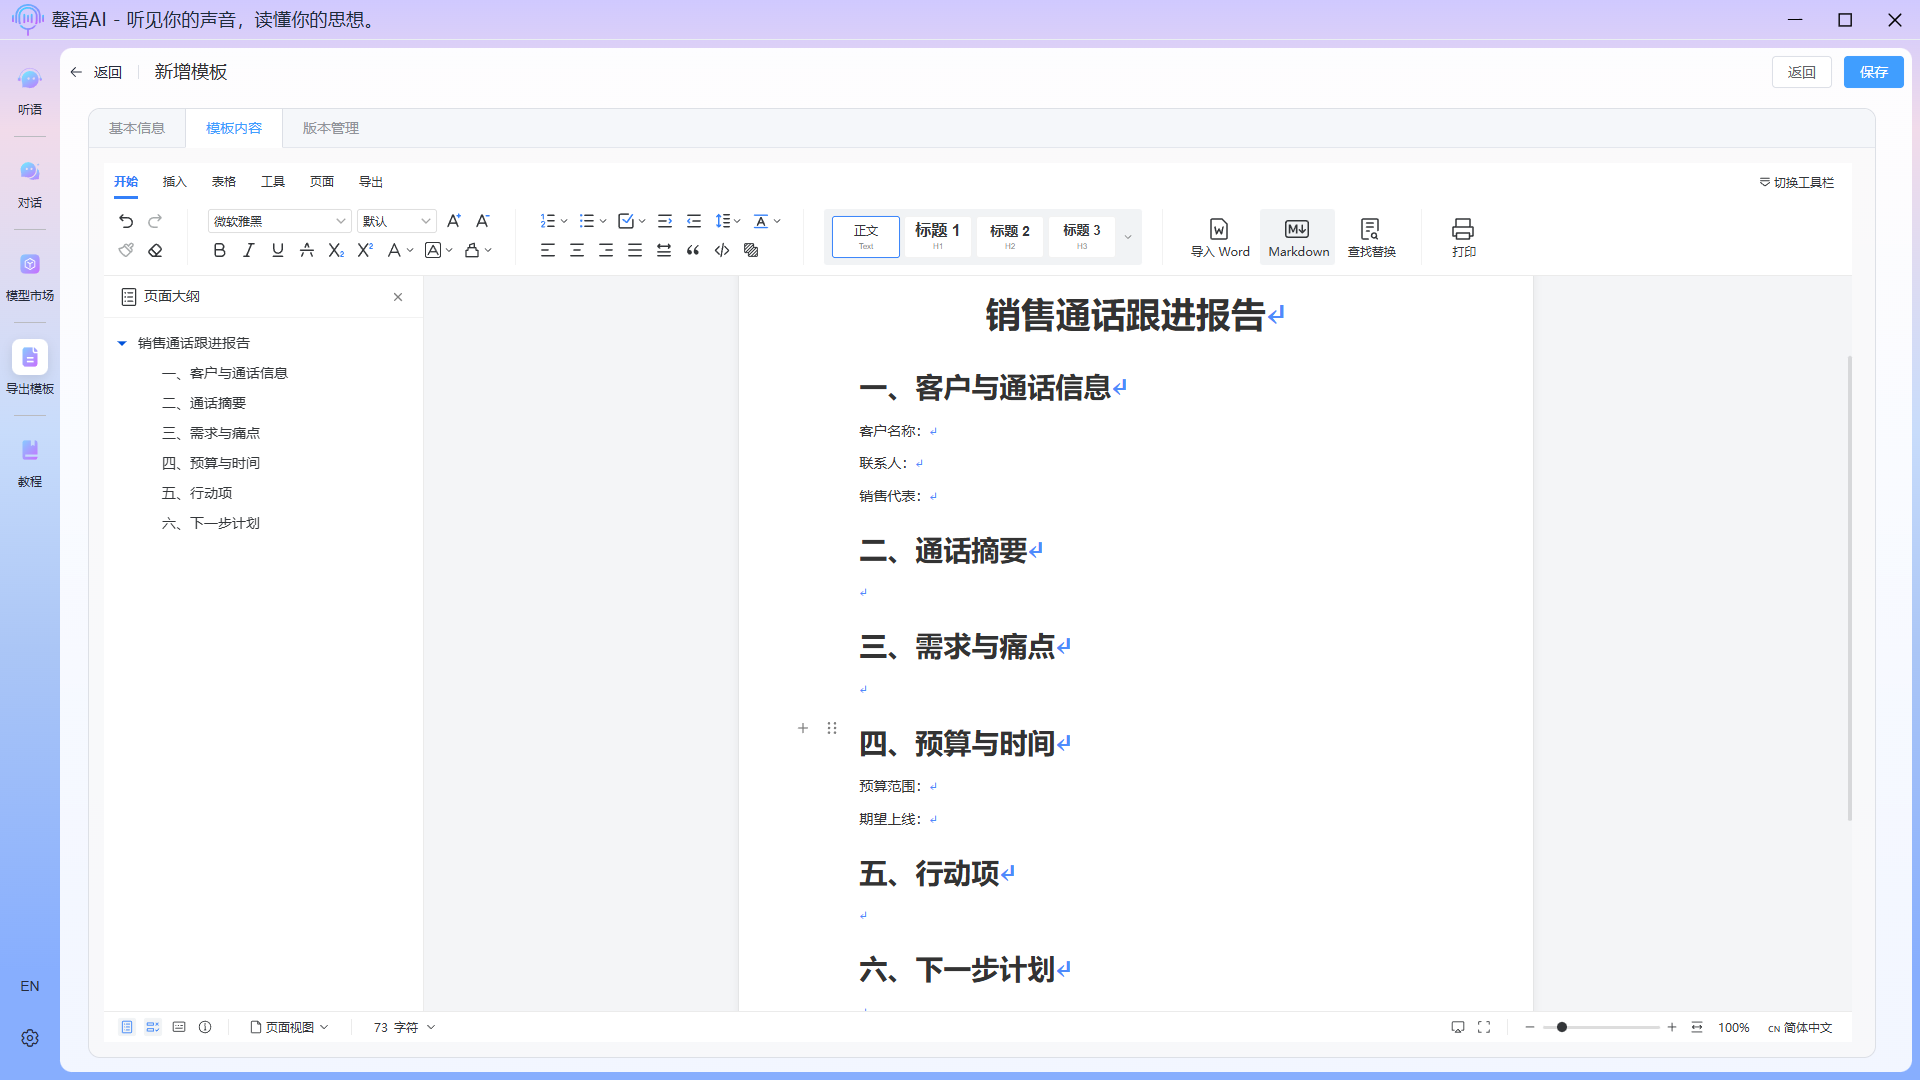
After editing the outline, how can we get AI to automatically populate the content? This is where the field tagging function comes in. Insert a field tag at each location where content needs to be filled, and describe the content, format, etc. you need in detail within the tag. The field descriptions should be as detailed as possible so that AI can more accurately extract and populate the data.
 Fully edited template:
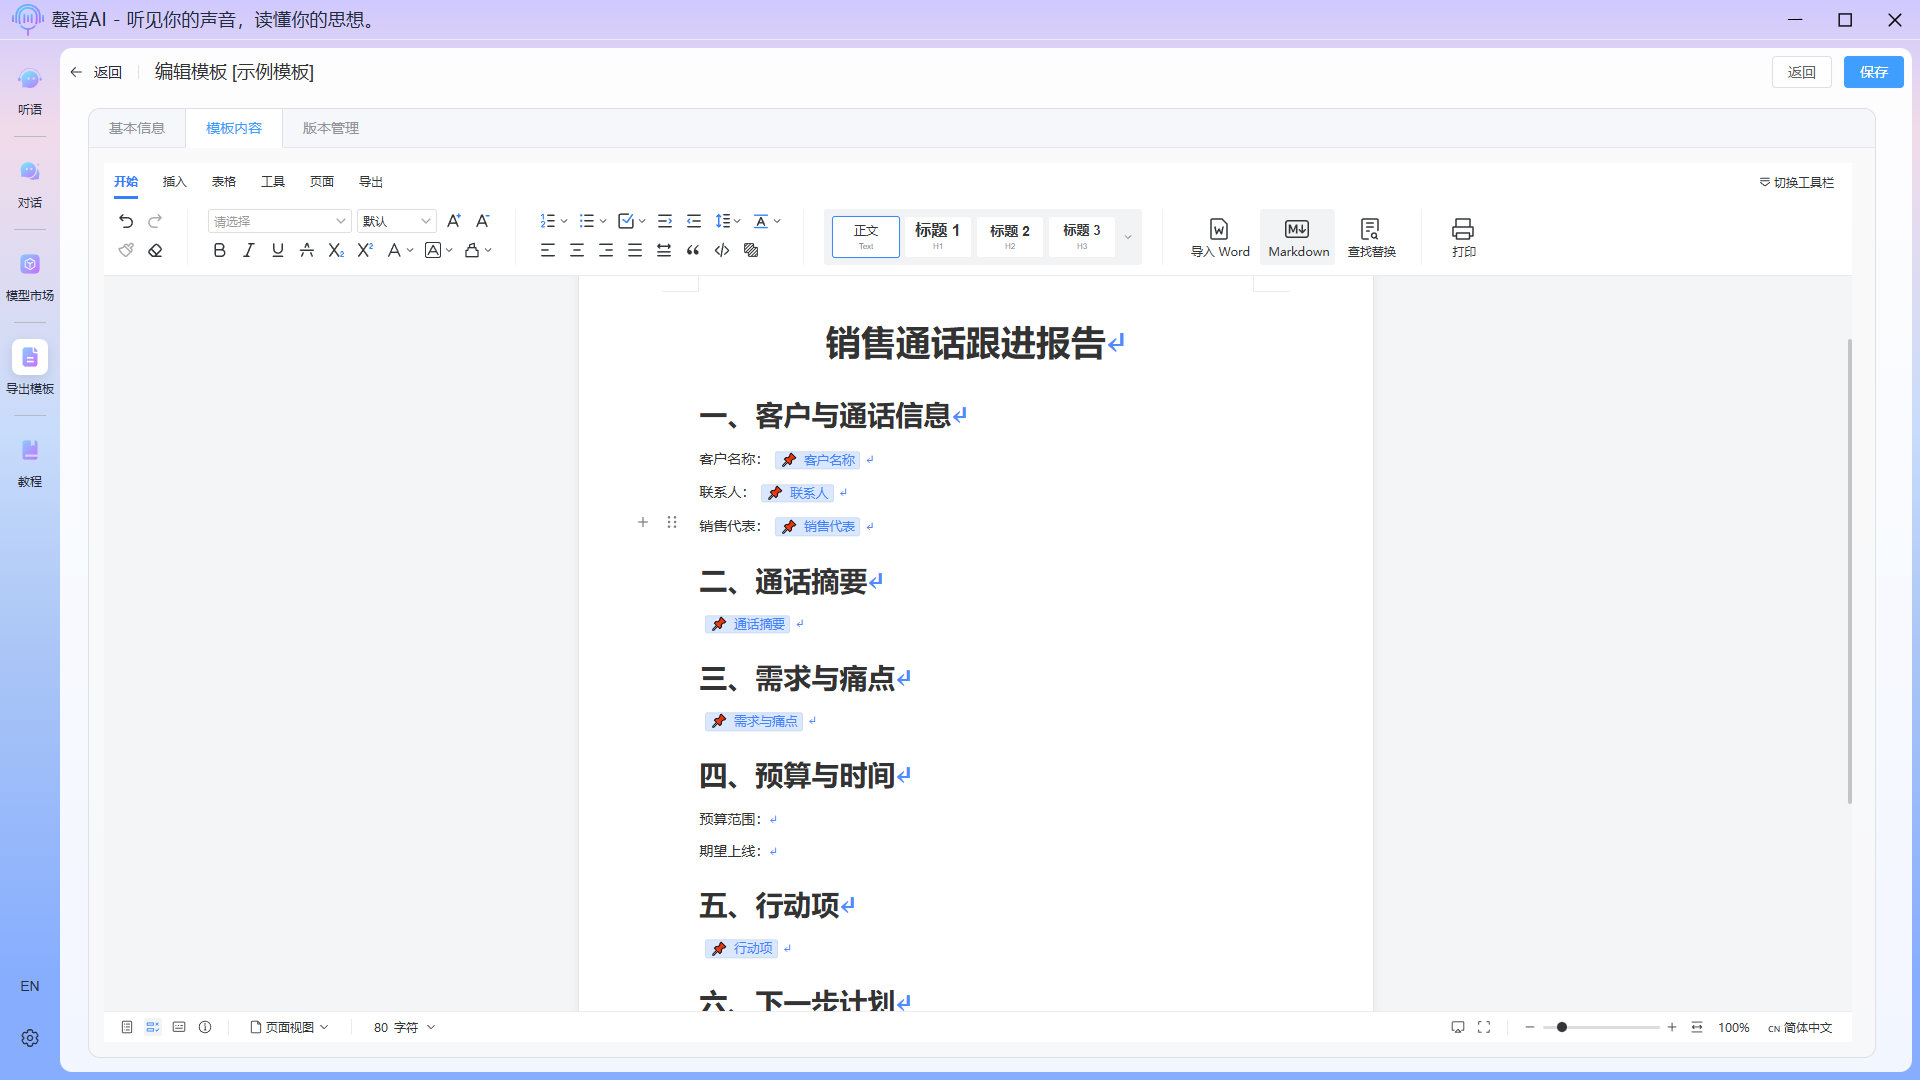
WARNING
Note: Once a field tag is added to a cell in the table, its content cannot be modified by clicking on the field tag. You must delete the existing tag and then add it again.
- Save template
After editing, click the save button in the upper right corner to save the template. Once saved successfully and you return, the template you edited will be displayed in the drafts list. 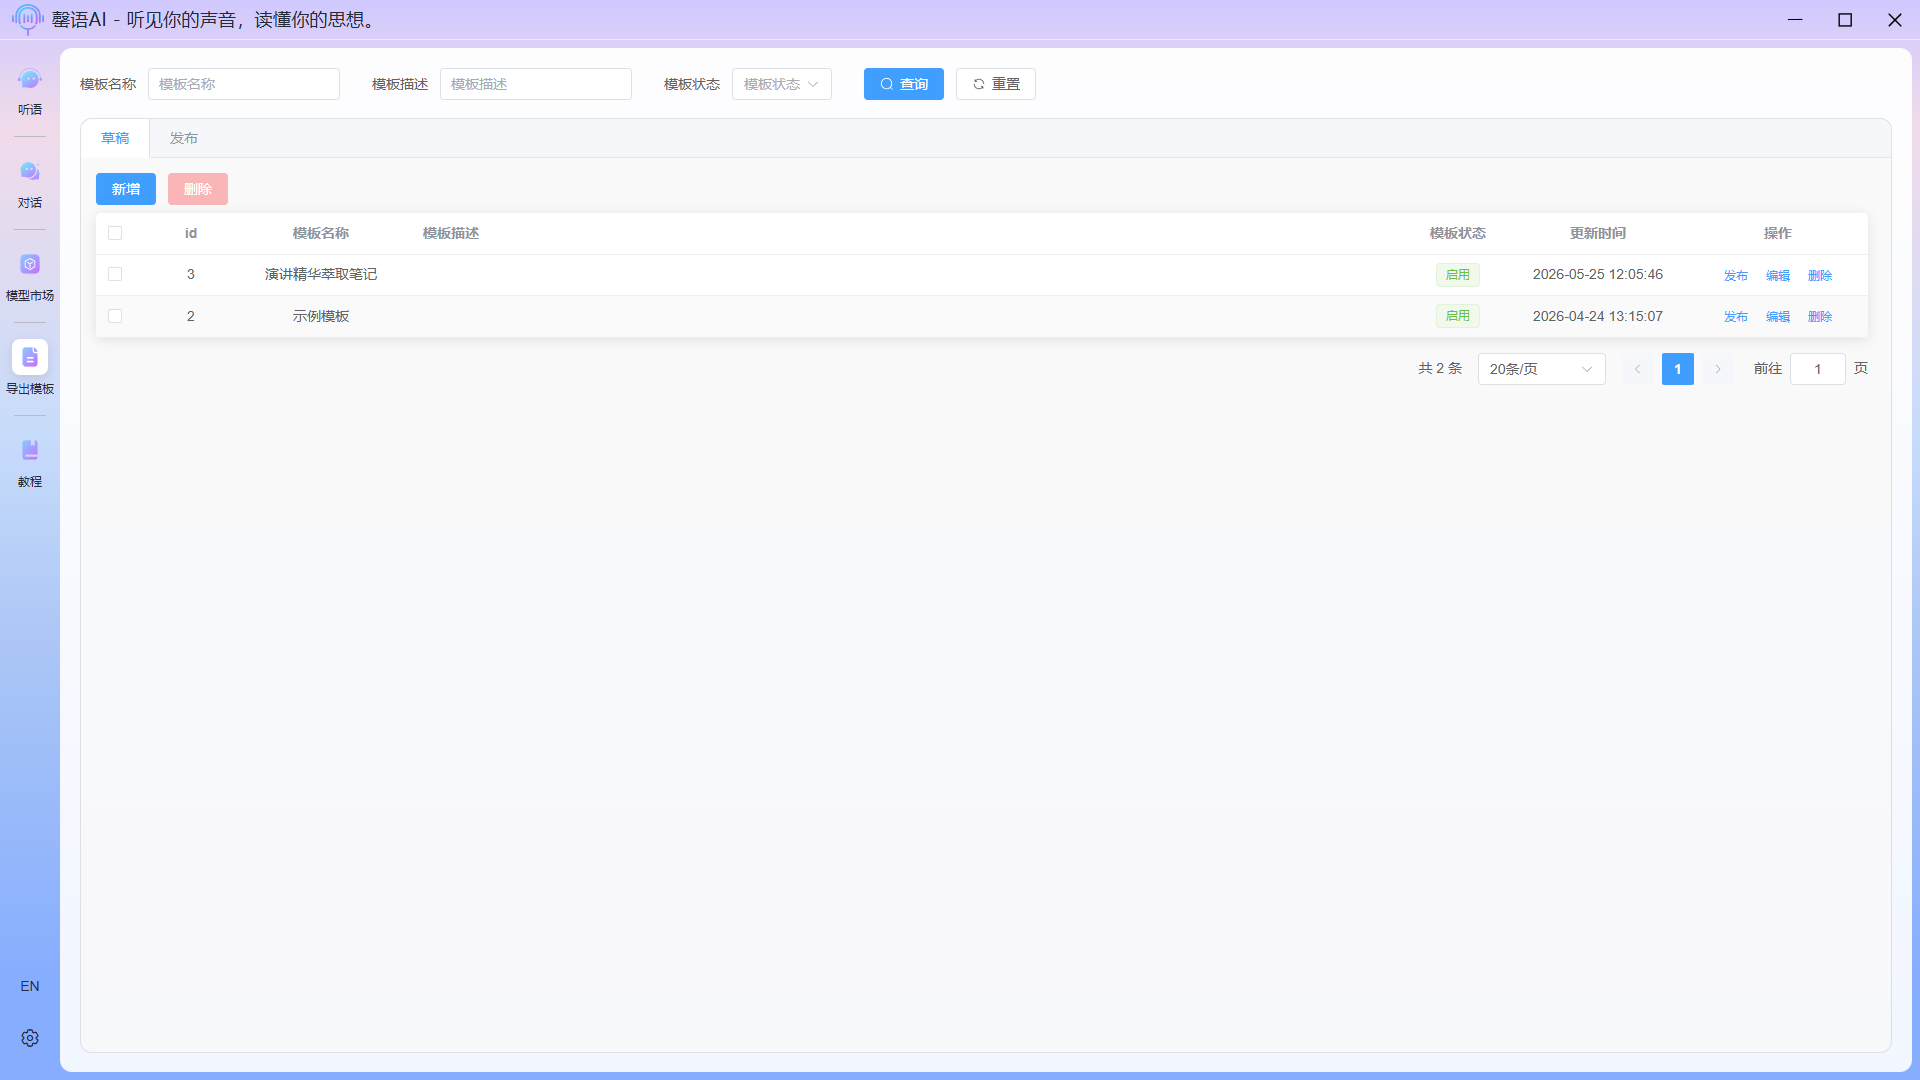
TIP
If we simply edit and save the template in the draft, we will not be able to select this template for export in the actual export task. Therefore, we also need to publish the template so that it can be used in the task.
6.3 Release template
In the list's operation bar, click the "Publish" button for the draft you want to publish. When publishing, add your notes for easy retraction, selection, and other operations later. 
After successful publishing, switch to the publishing page to see the published template information. 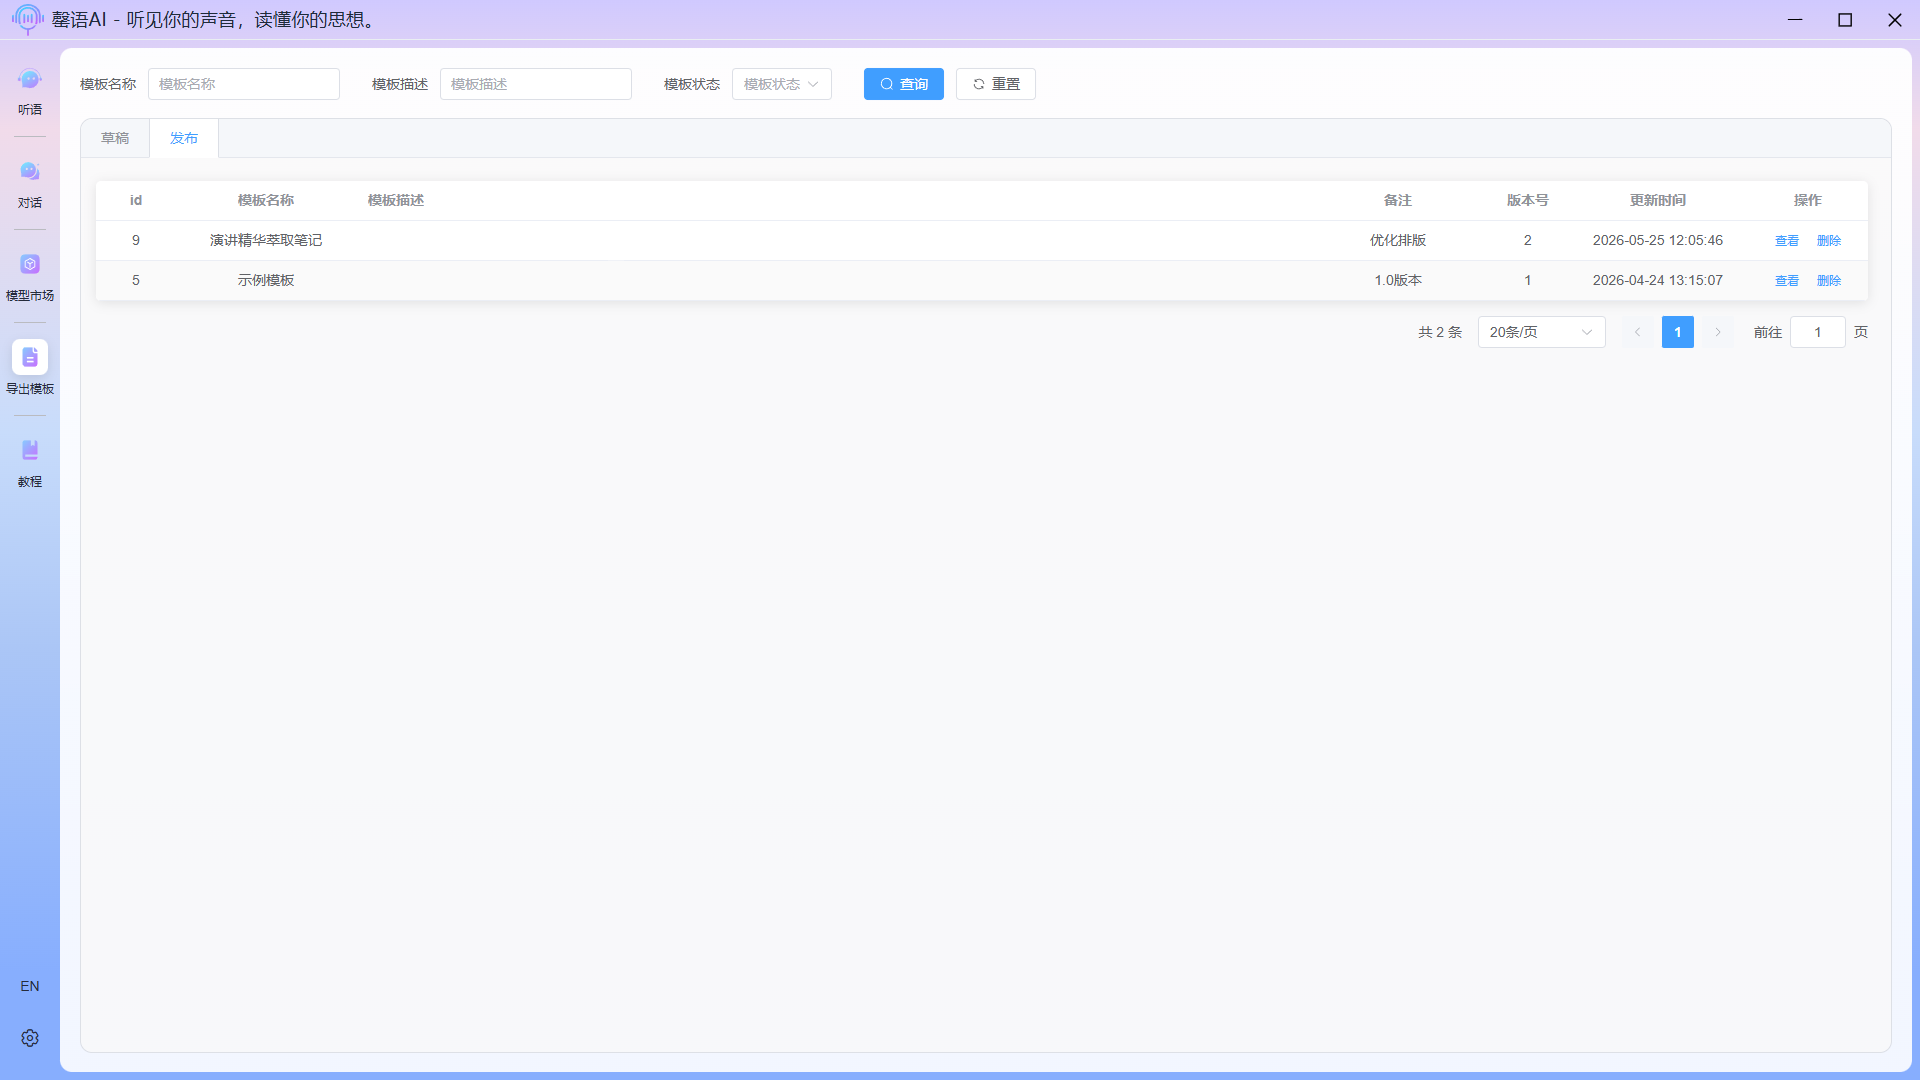 At this point, the entire template creation process is complete, and it can be freely used in subsequent export tasks.
Step 7: Intelligently export the corresponding content according to the template requirements (optional)
Switch to the Export page, select the corresponding Use Model and Use Template, and then click Export to perform the smart export operation. 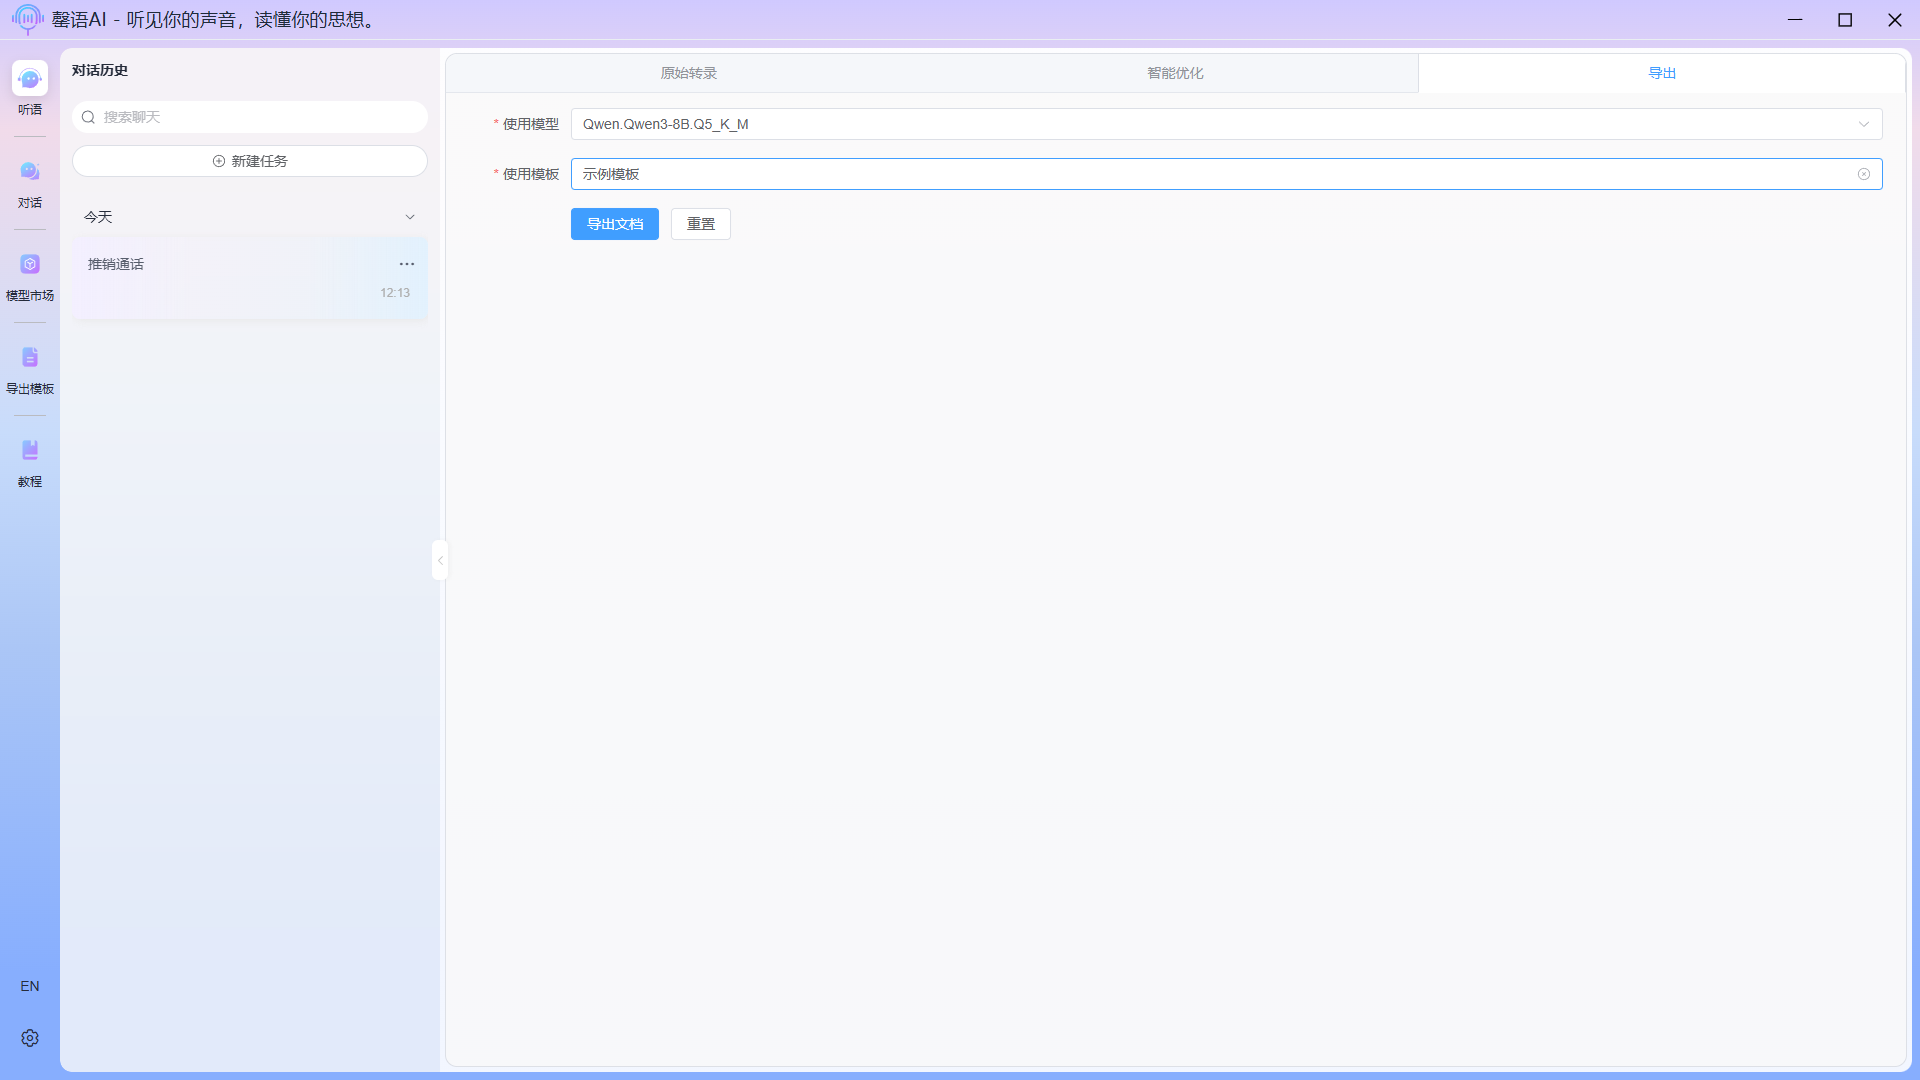
Perform the export: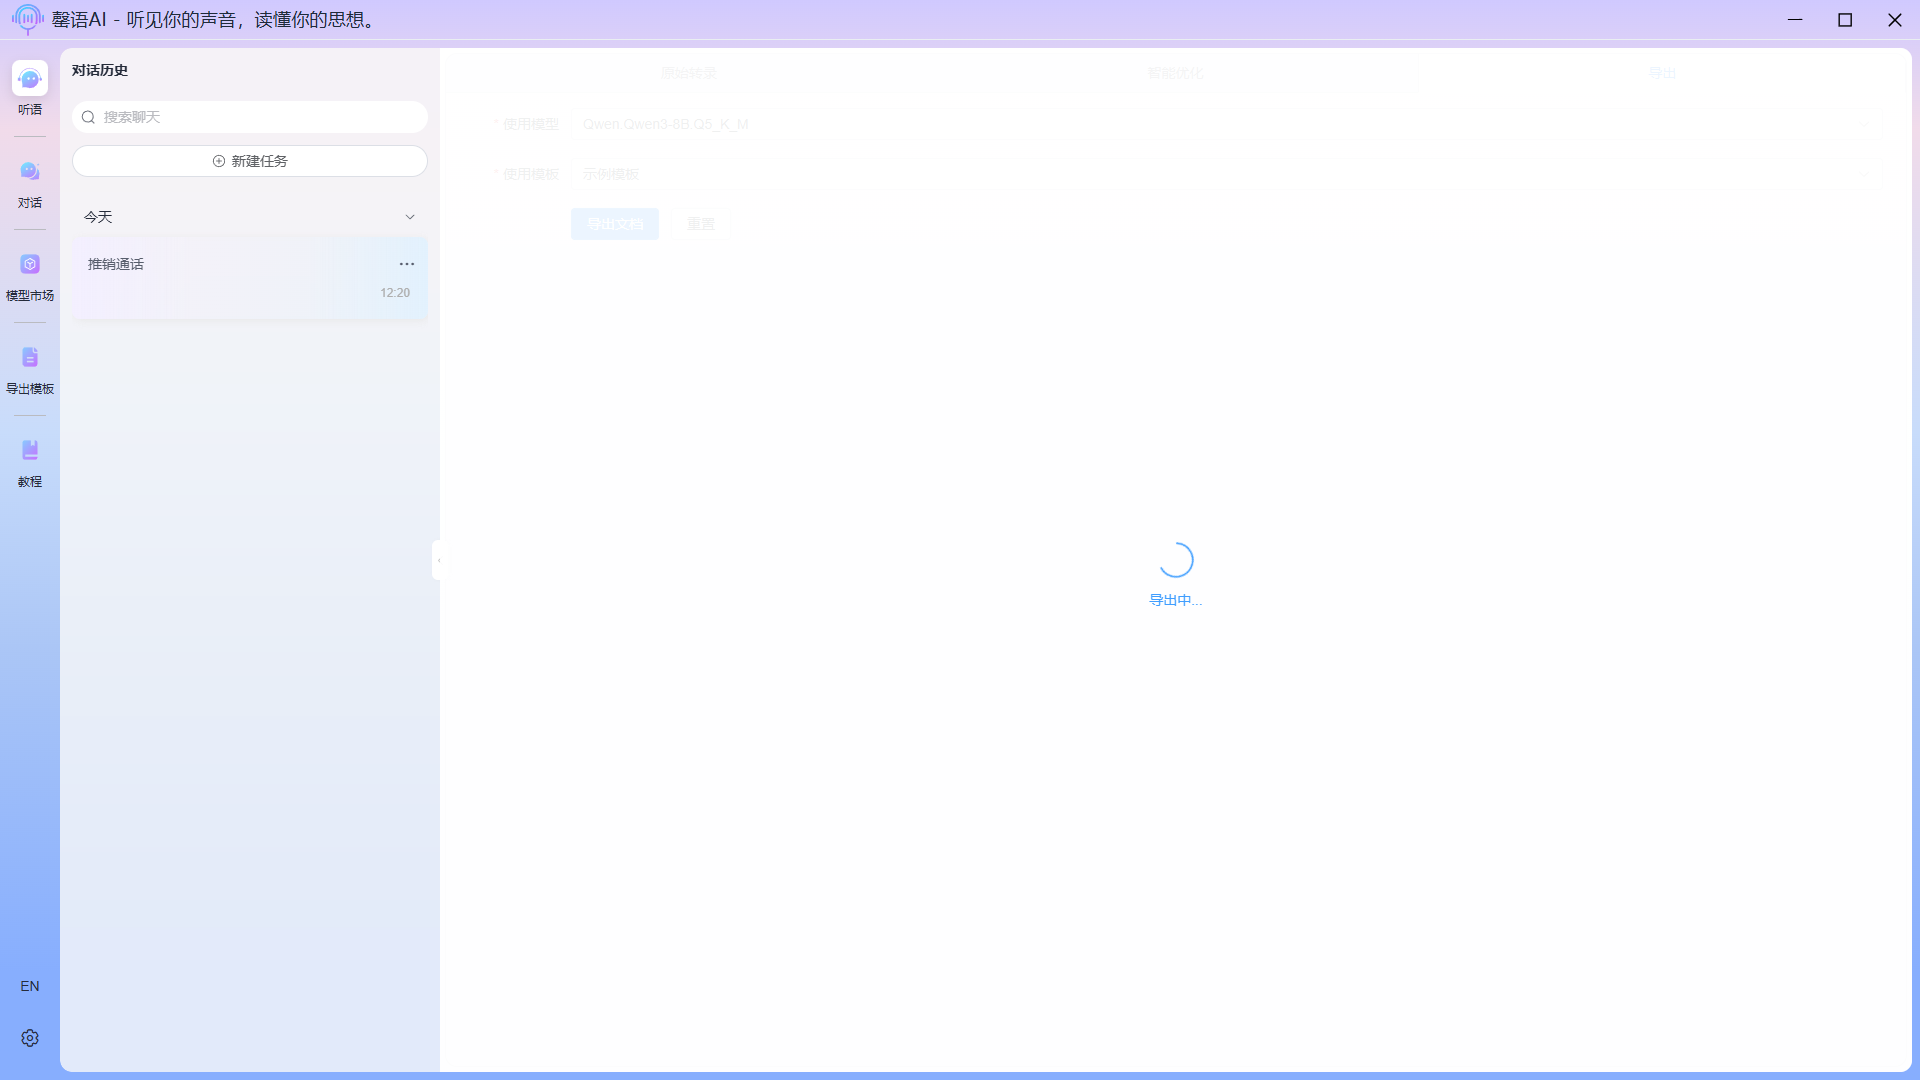
Export complete:
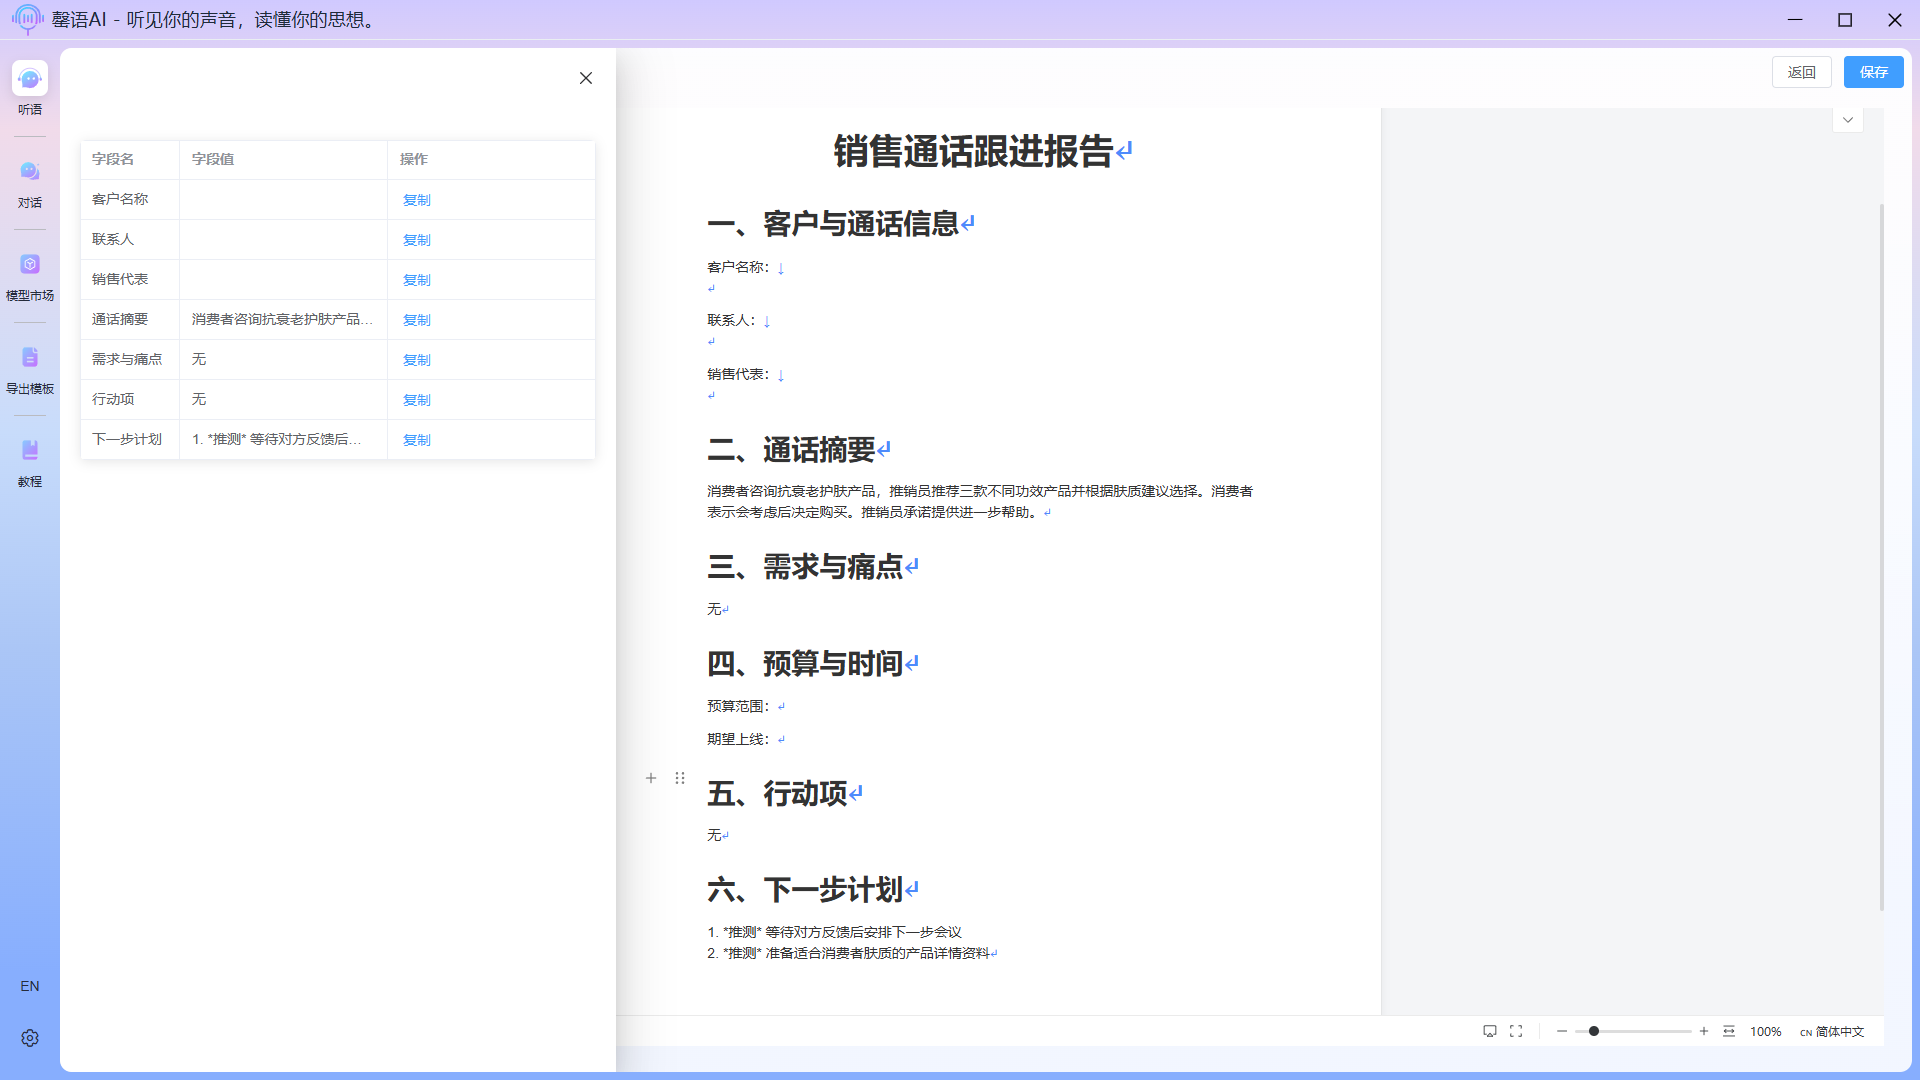
After the export is complete, you will be automatically redirected to the exported document page, where you can modify the exported document as needed. In this example, because the audio content is too small, much of the exported content will be empty, which is normal. 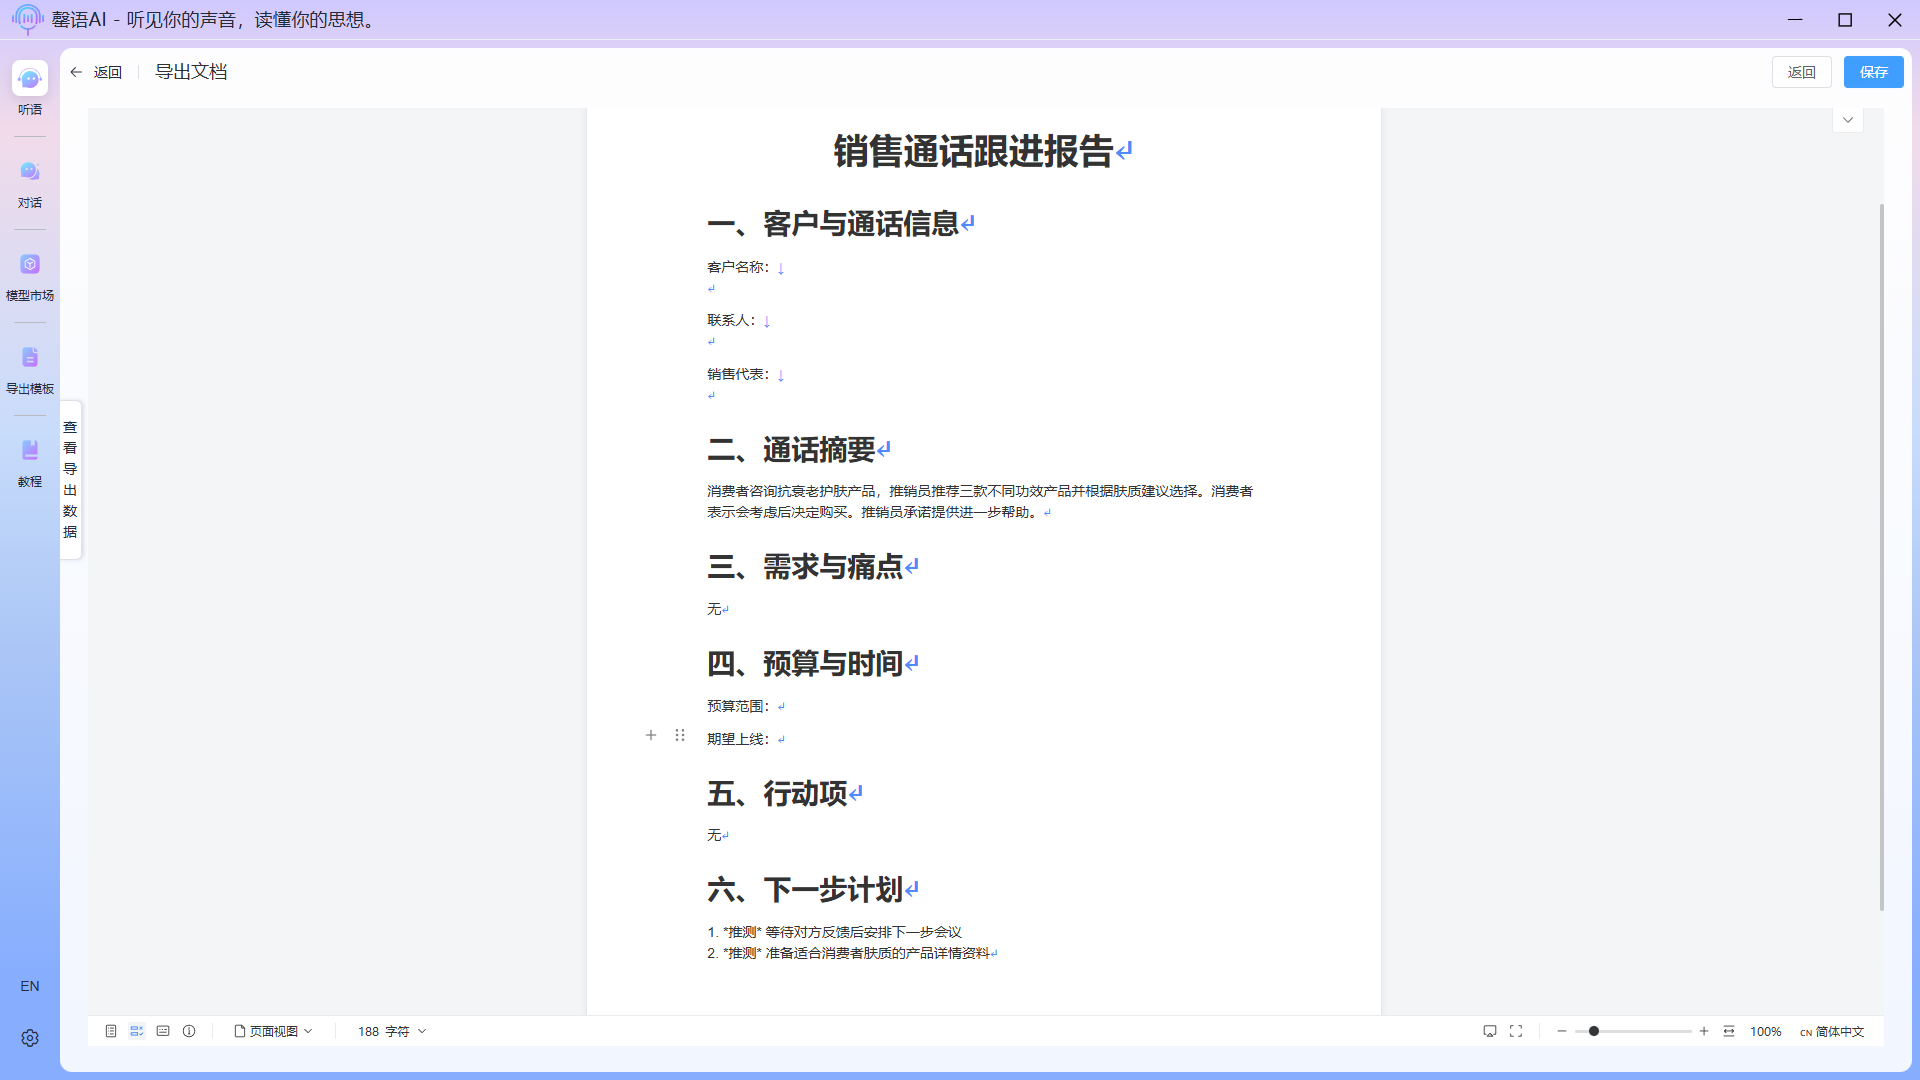 Sometimes, intelligent export may fail to match field tags. You can view all field data returned by the llm by clicking the View Data button on the left side of the export document interface. A quick copy button is also provided on the page; you can directly copy content and paste it to the desired location in the document.
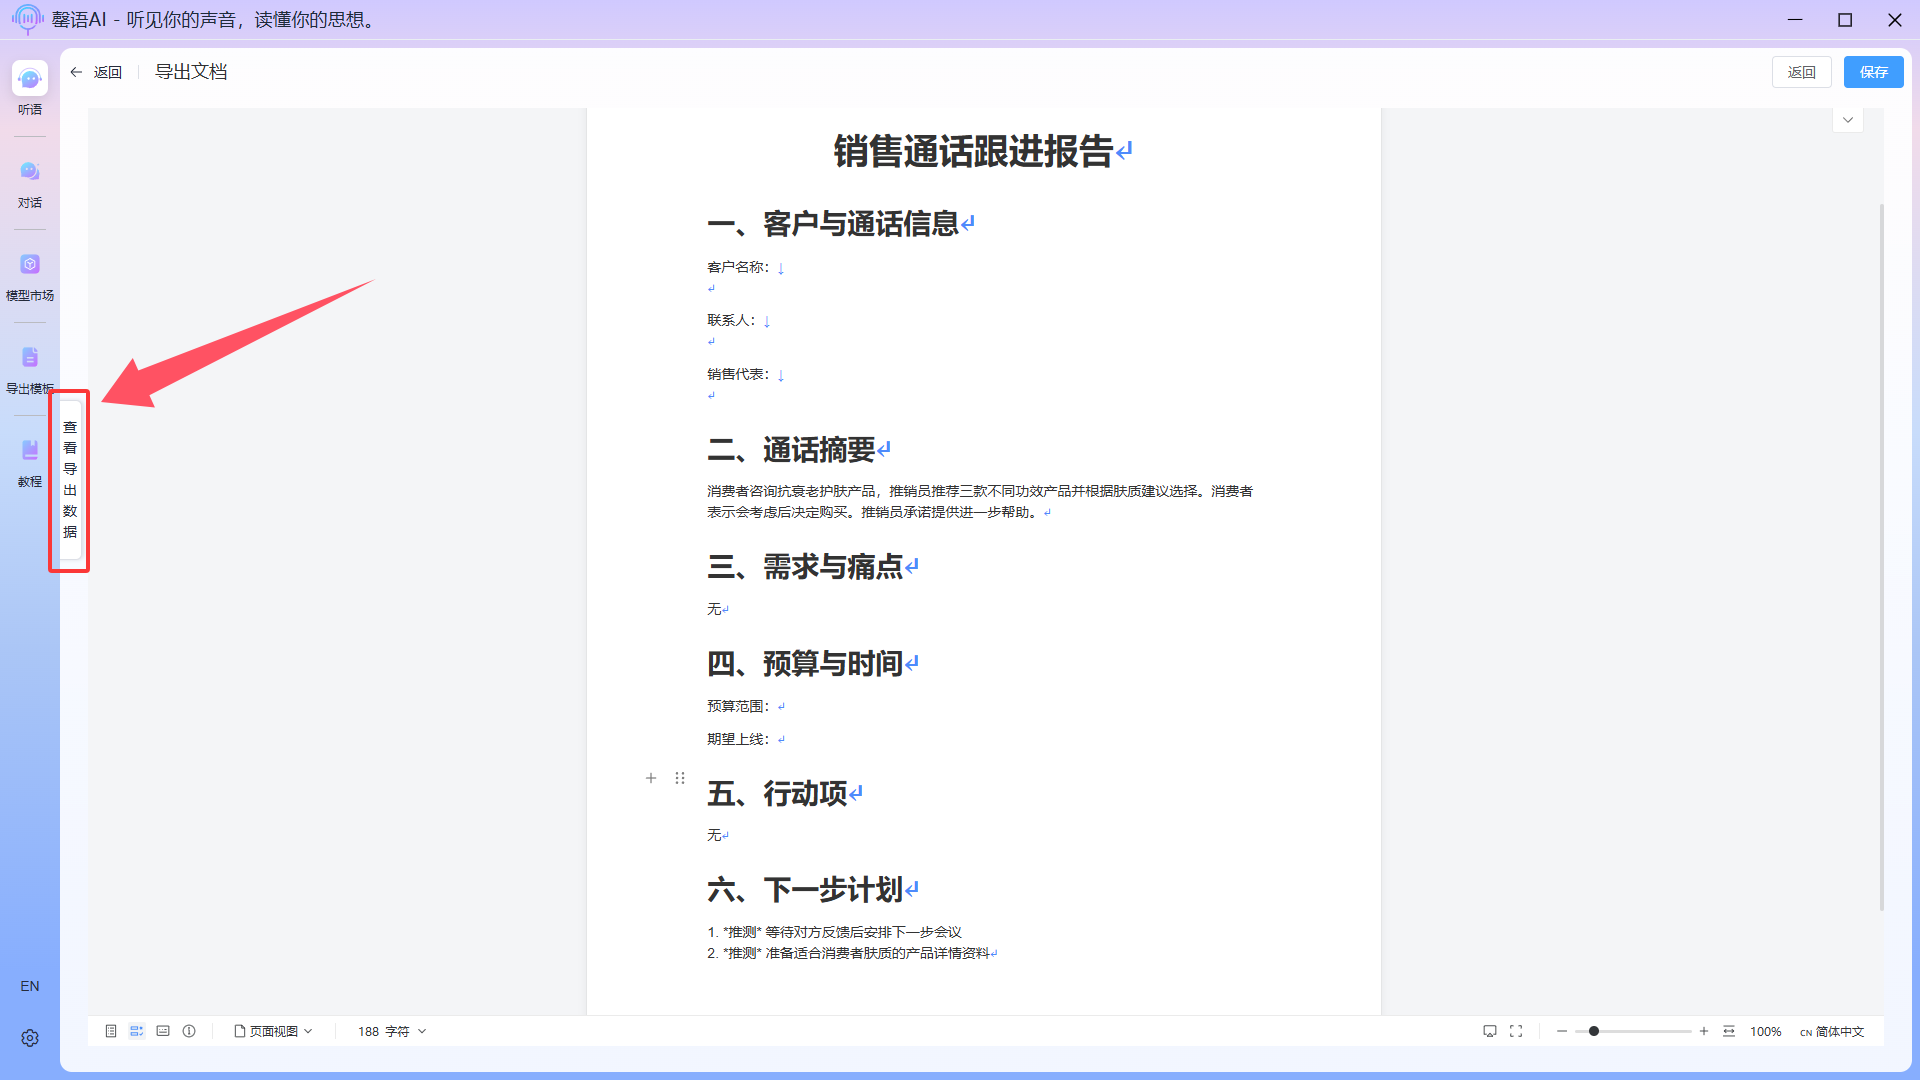
 After making the changes, click the Save button in the upper right corner.
Step 8: Save the PDF/image/text document to your local device (optional)
In the document editing interface, switch to the Export tab and select the desired export type. For PDF export, follow the on-screen instructions for optimal display. 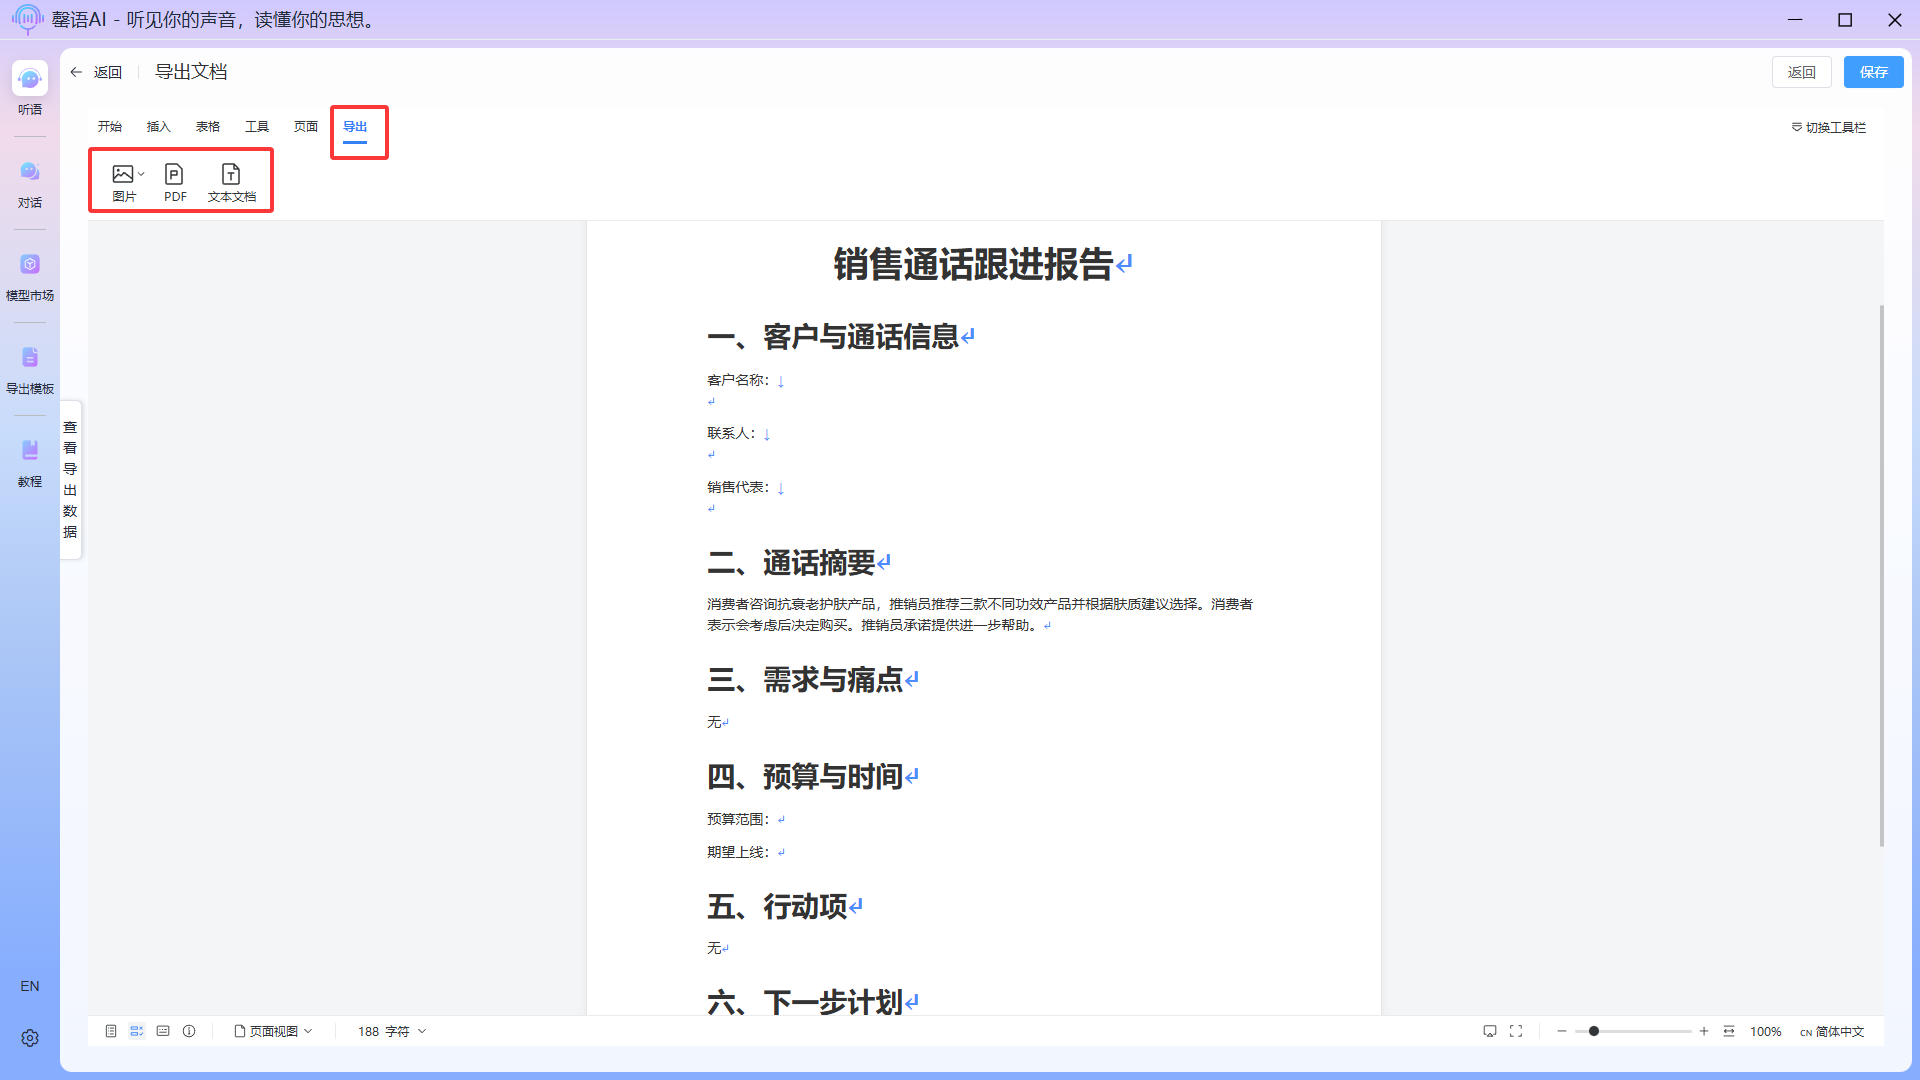
After the export is complete, click the Back button to return to the task interface. Re-entering the Export function will then display the exported document history for this task. Clicking View will allow you to re-enter the document editing page for editing and exporting. 
At this point, the entire business process of converting audio into structured documents is complete.